Faucet Mat Placement Mistakes and How to Fix Them
You spent good money on a faucet mat to protect your counters, but water still pools around your sink and leaves those stubborn white marks on the stone. The problem isn't your mat—it's where you put it. Most people make the same handful of placement mistakes that cut absorption by more than half, turning what should be a simple solution into an expensive lesson in countertop damage.
Table of Contents
Understanding How Faucet Mats Actually Work
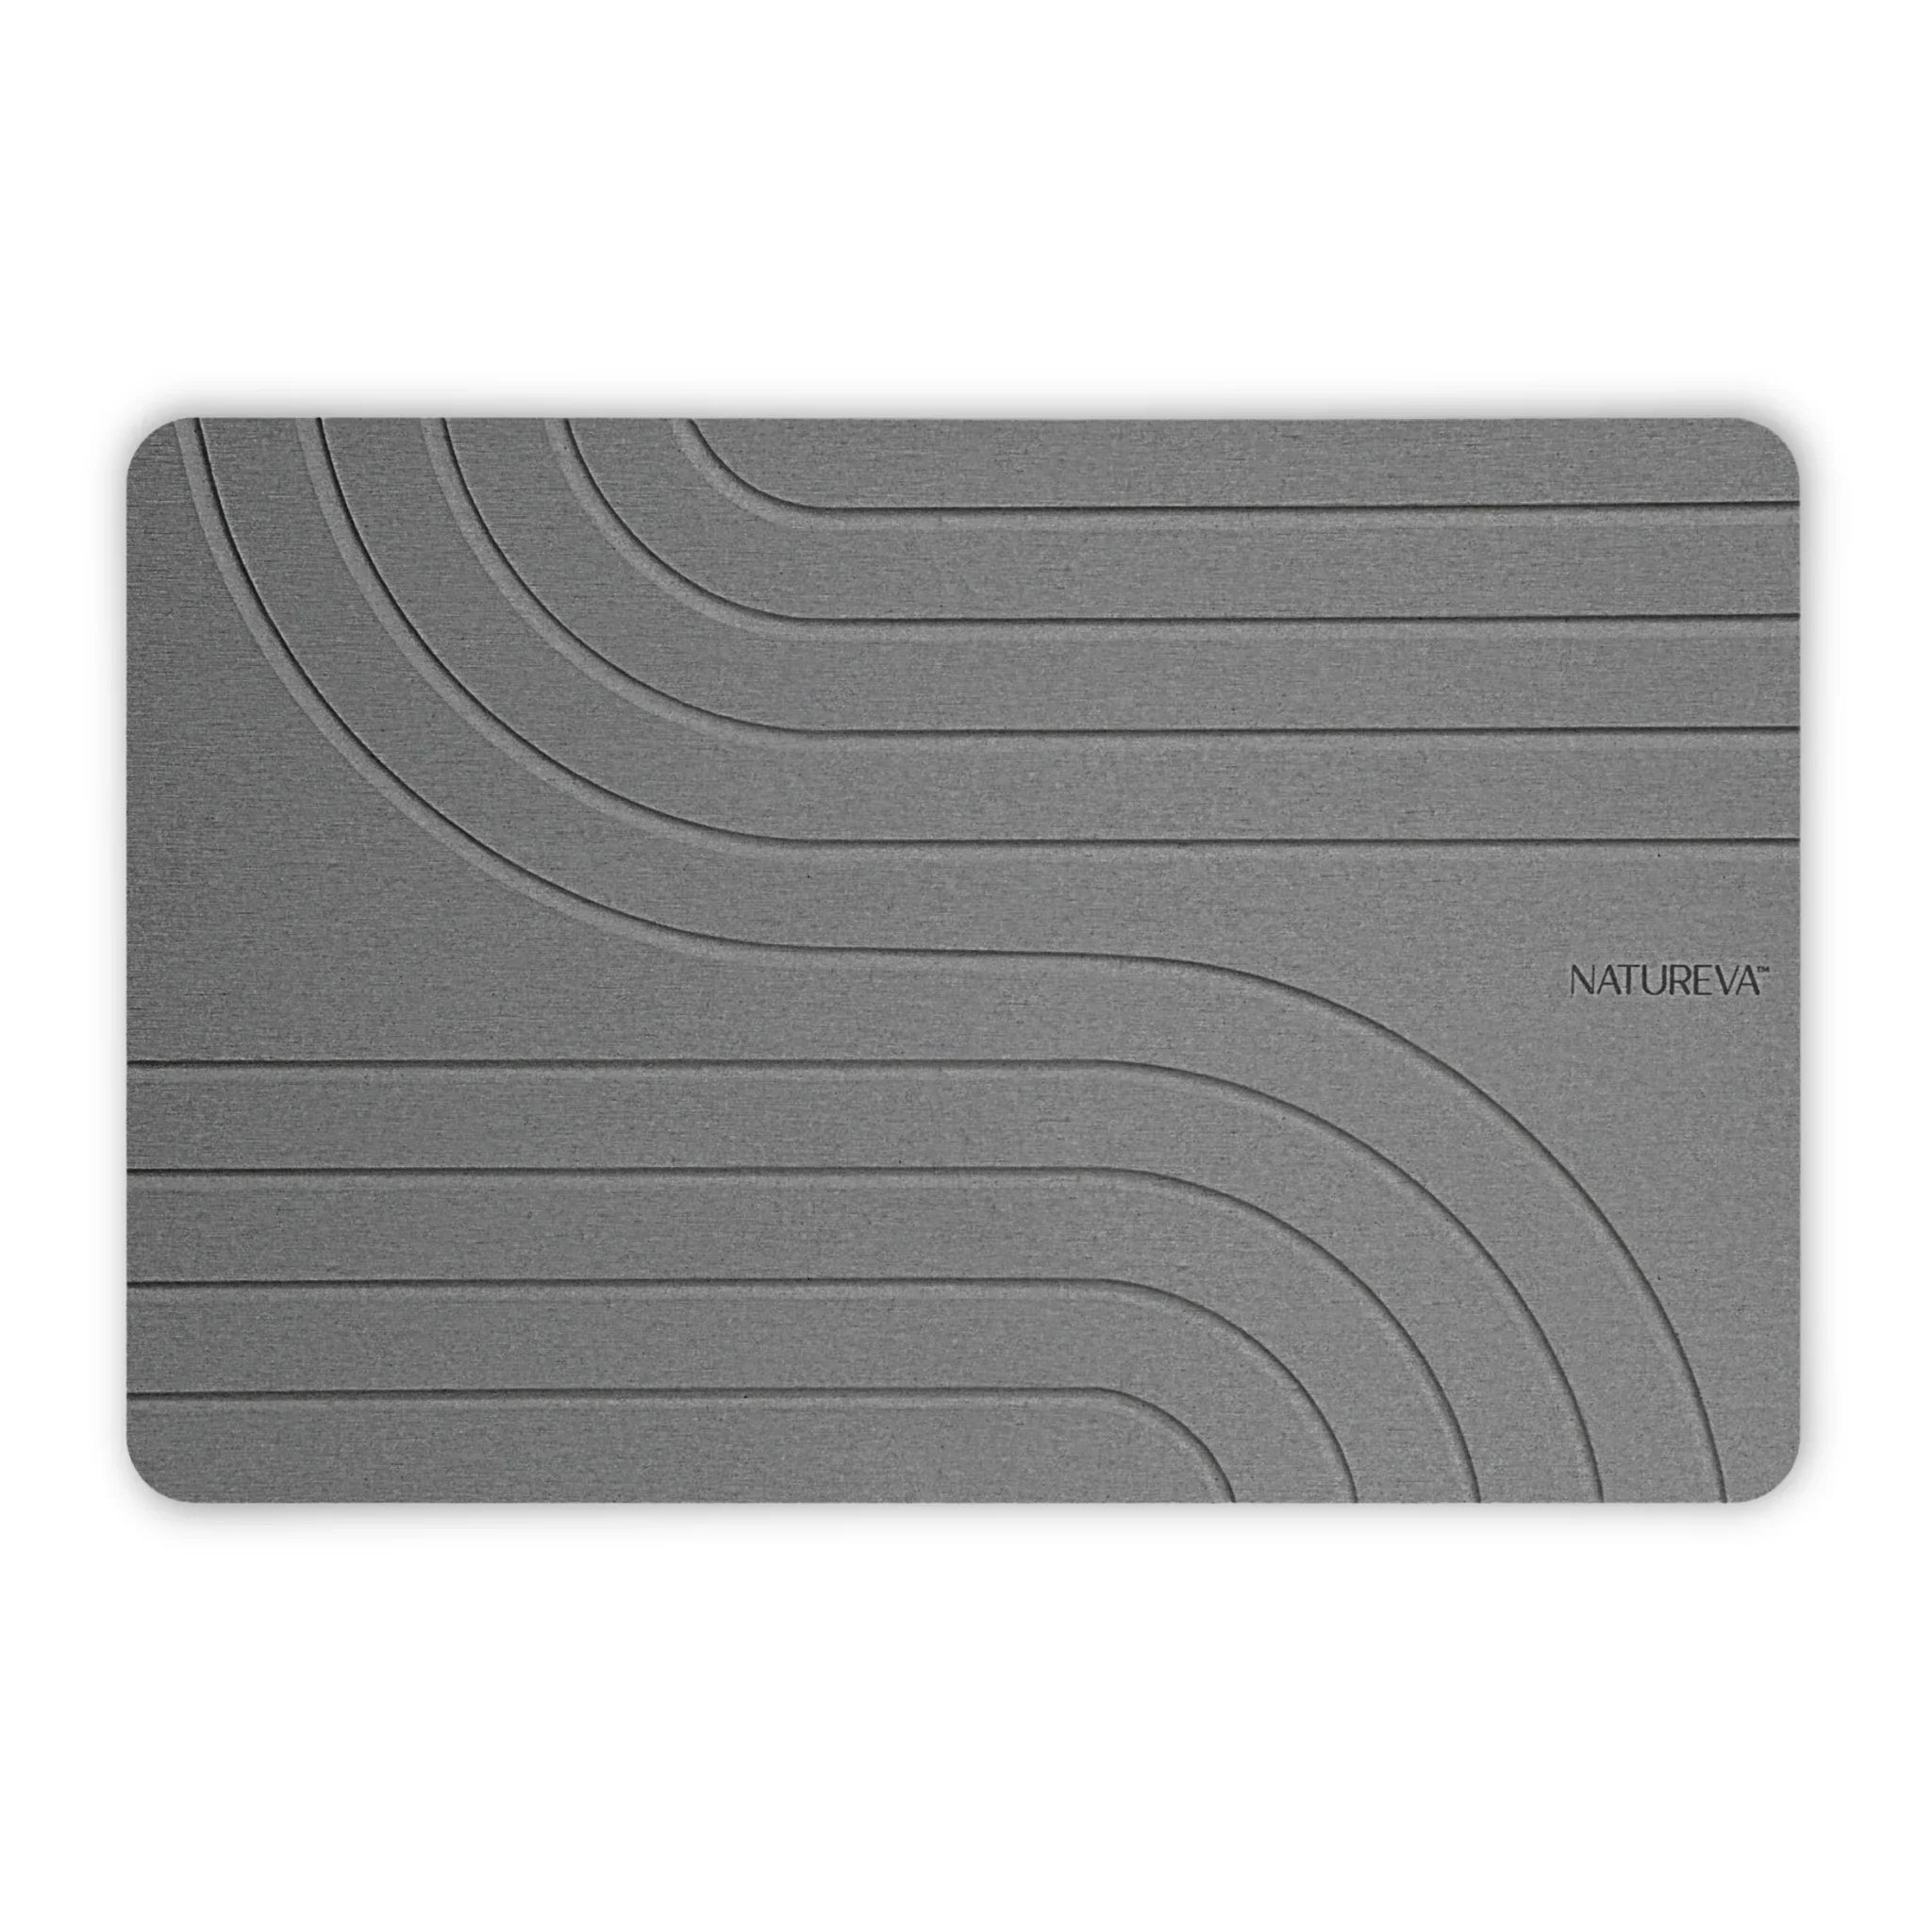
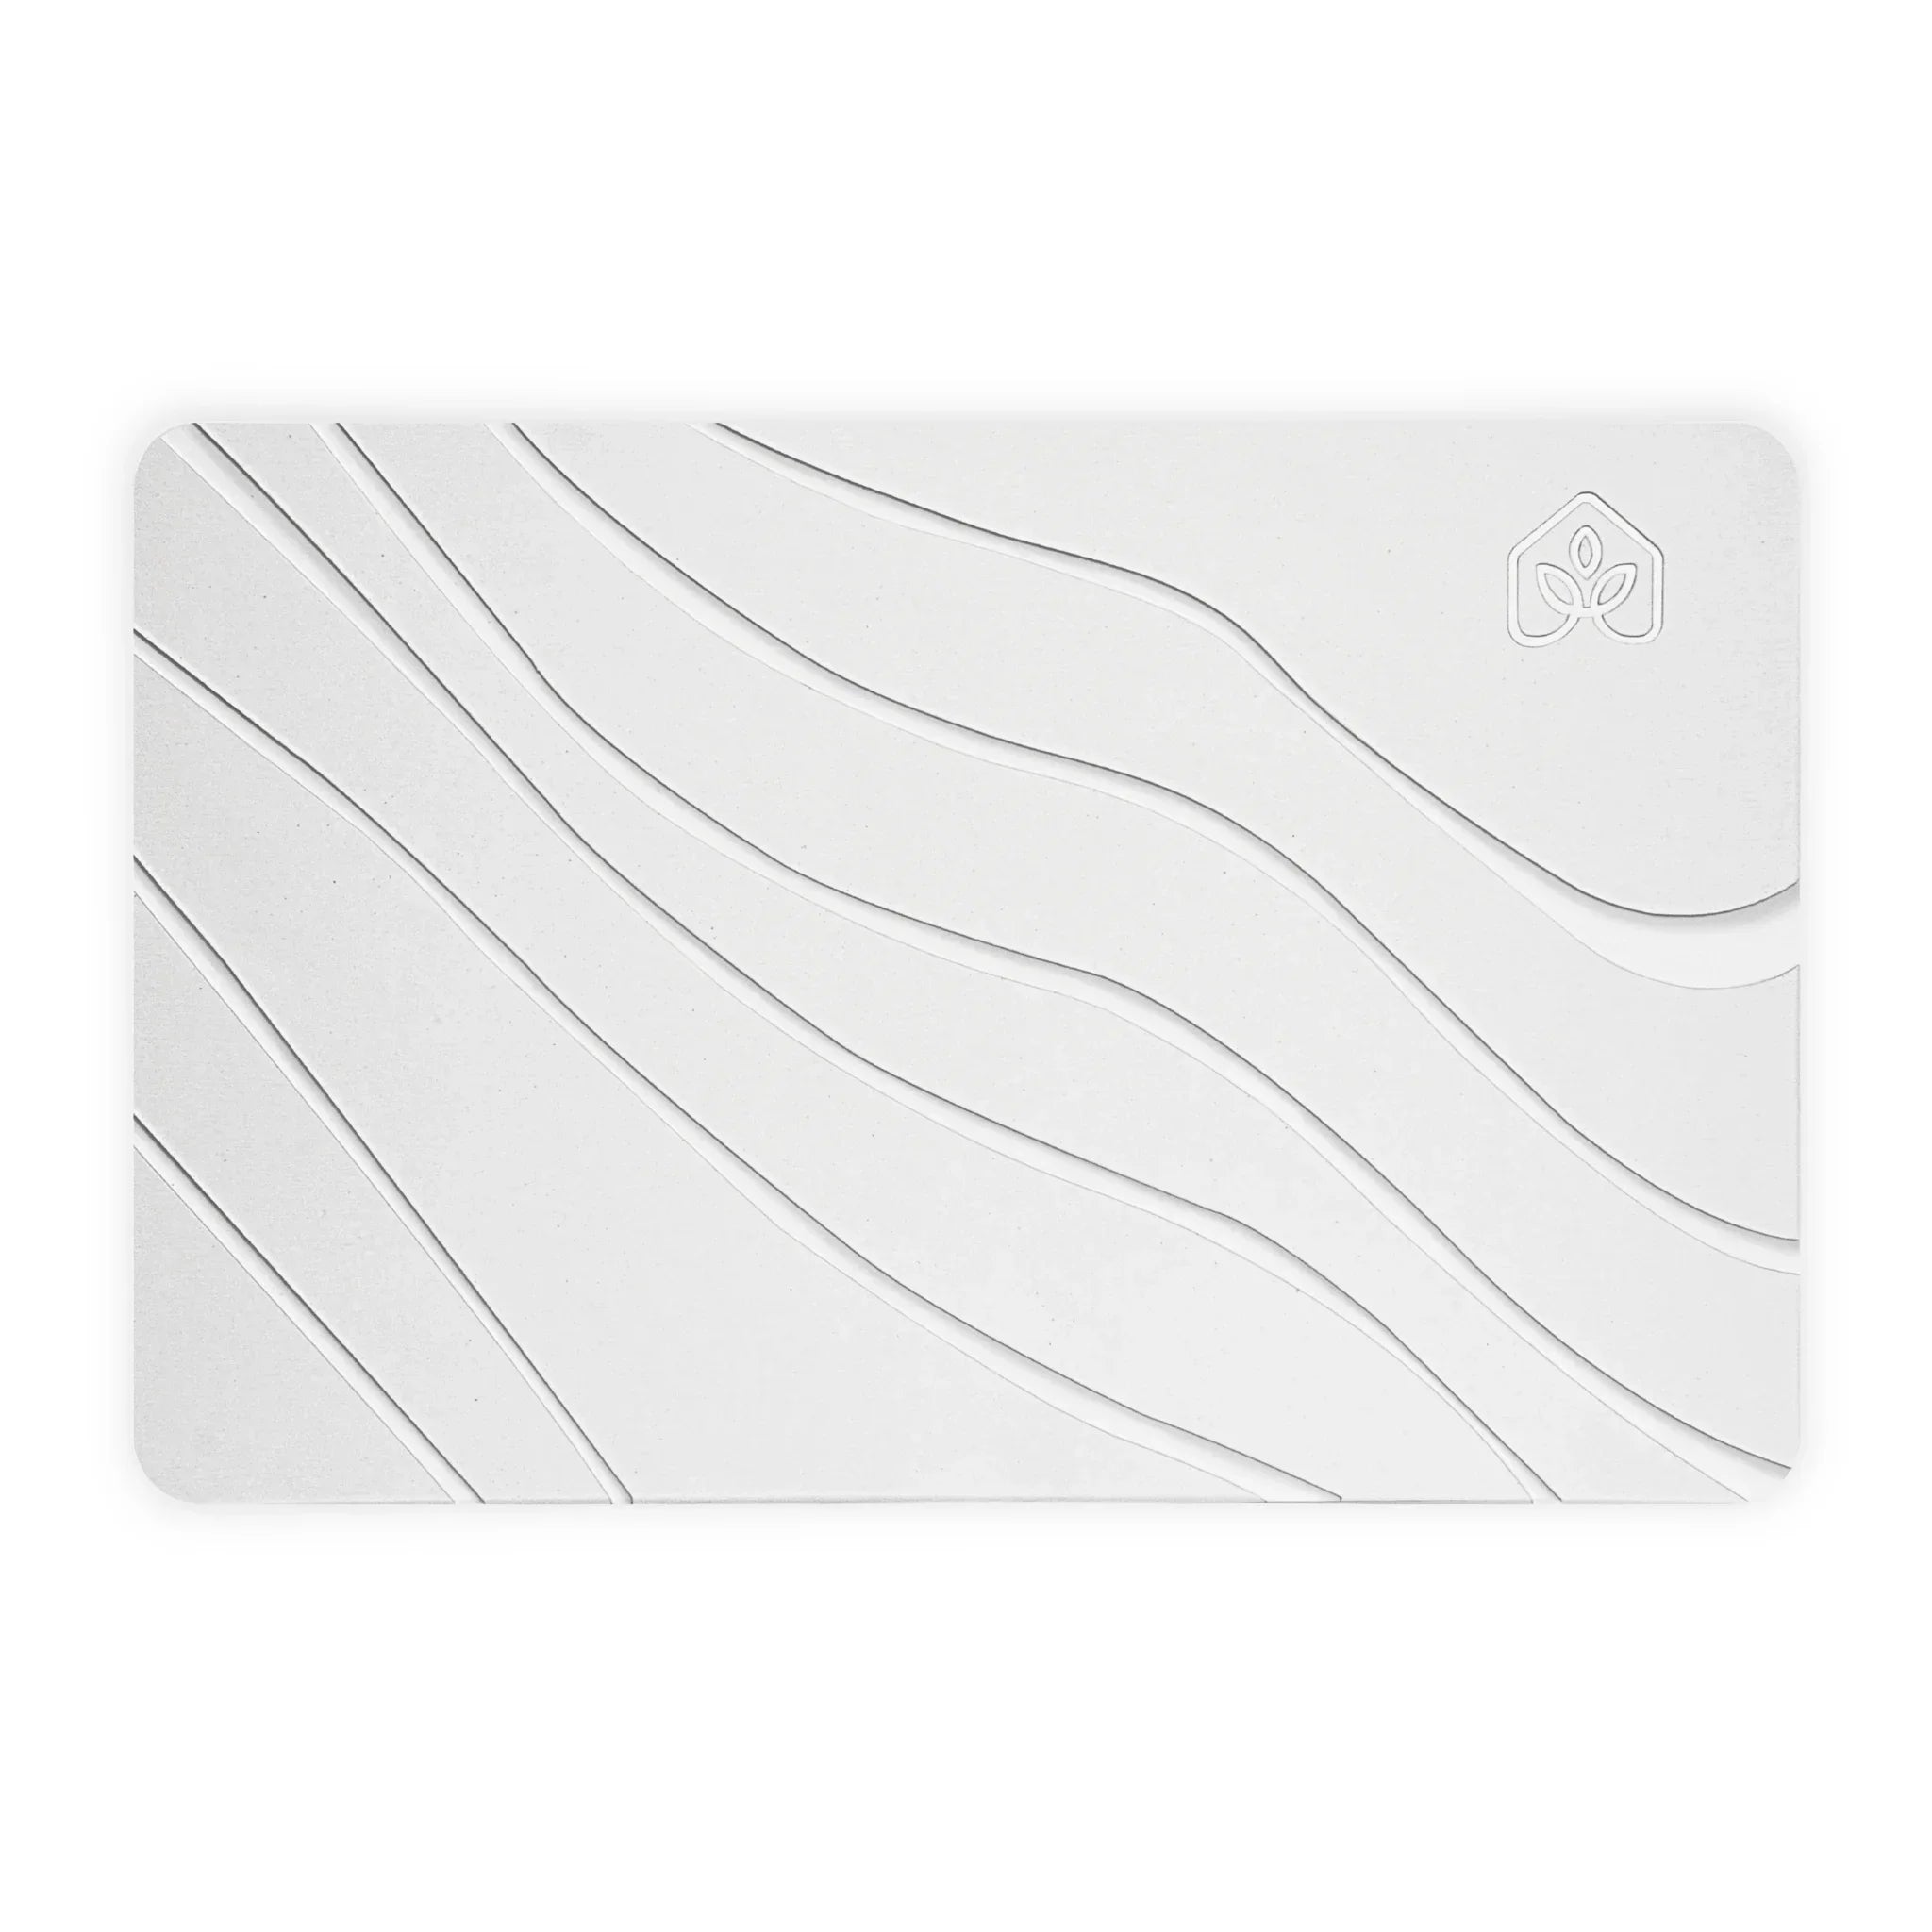
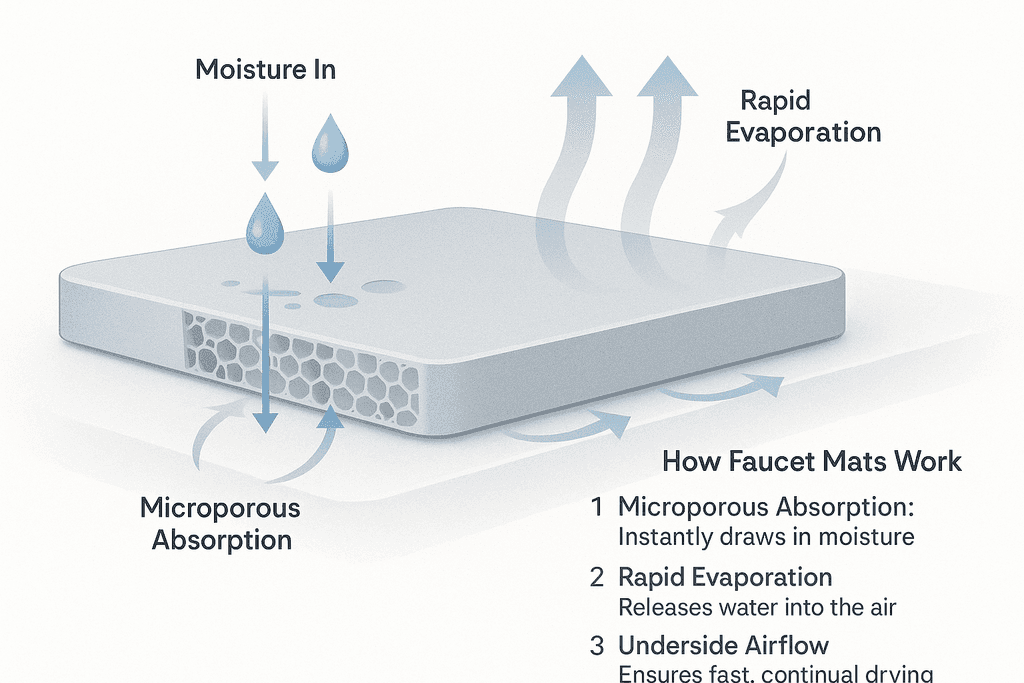
Most people think a faucet mat just sits there and soaks up water like a sponge, but that's only half the story. The real magic happens in the millions of microscopic pores inside diatomite stone, which pull moisture in through capillary action and then release it back into the air through evaporation. This process only works properly when air can flow around and underneath the mat, which is why placement matters so much more than most homeowners realize. When you block that airflow or position the mat where water can't reach it properly, you end up with a soggy mess that defeats the entire purpose. The Natureva stone faucet mat uses this natural absorption system, but even the best materials can't overcome poor placement decisions.
How Water Moves Around Your Sink
Water doesn't just fall straight down when you wash your hands or rinse dishes. It splashes in predictable patterns based on your faucet height, water pressure, and sink shape.
The typical splash zone includes:
- Direct drips from the faucet spout when turned off
- Backsplash from water hitting the sink basin at an angle
- Residual drips from soap dispensers and hand soap bottles
- Water that runs down the faucet neck after use
Understanding these patterns helps you position your faucet mat where it actually catches water instead of just looking decorative. Different sink types create different challenges too.
When Absorption Stops Working
Diatomite can only absorb so much moisture before it needs time to dry out. When a faucet mat stays constantly wet because it can't evaporate properly, the pores fill up and stop working. This is called material saturation, and it's the main reason people complain their stone mats stopped absorbing after a few weeks.
Common saturation triggers include:
- Placing the mat flat against the counter with no airflow underneath
- Positioning it where direct sunlight never reaches to speed evaporation
- Using it in poorly ventilated bathrooms with high humidity
- Letting soap residue build up and clog the pores
Placement Conditions That Affect Performance
The table below shows how different placement conditions impact how fast your stone faucet mat can dry and stay functional. These numbers are based on typical household conditions with moderate humidity.
| Placement Condition | Drying Time | Absorption Rate | Performance Impact |
|---|---|---|---|
| Elevated with airflow underneath | 15-30 minutes | 100% capacity | Optimal performance |
| Flat on counter, good ventilation | 45-60 minutes | 70-80% capacity | Reduced efficiency |
| Flat on counter, poor ventilation | 2-4 hours | 40-50% capacity | Frequent saturation |
| Blocked by items or walls | 4-8 hours | 20-30% capacity | Minimal function |
The difference between proper and improper placement can mean the gap between a mat that works all day versus one that's useless after the first hand wash. Most countertop damage from water happens because the mat couldn't dry fast enough between uses, not because the material itself failed.
Mistake 1: Placing Your Mat Too Close to the Faucet
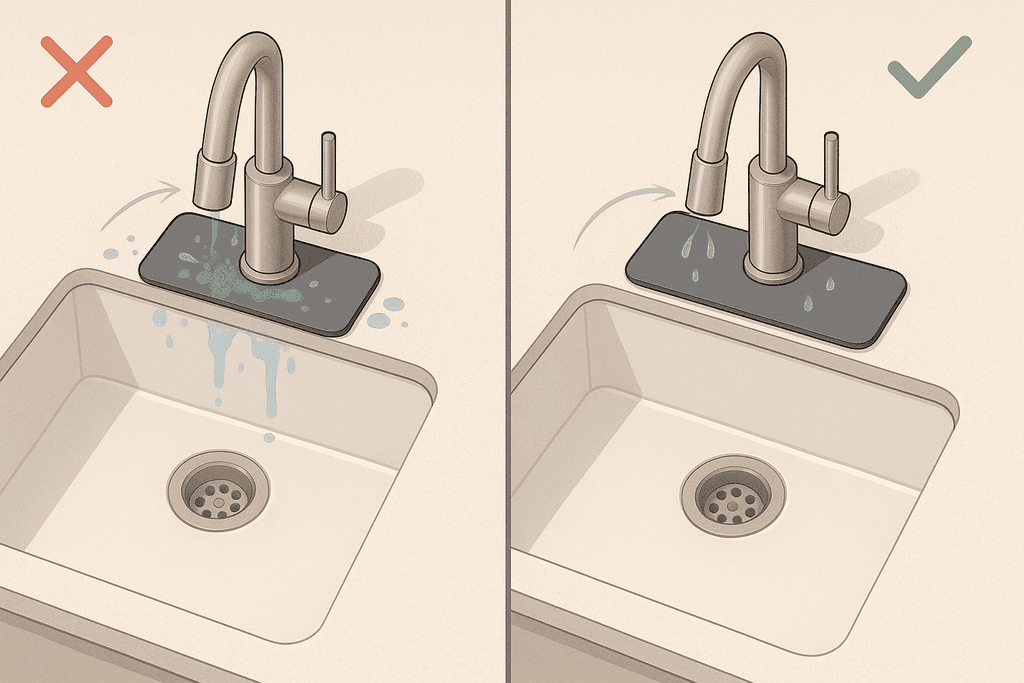
Most people think a faucet mat should sit right under the faucet base, centered perfectly like a picture frame. That's actually the worst spot for it. When you place a mat directly beneath the faucet, you're covering an area where water rarely lands. The real splash zone is further out, where the water arc hits the counter and bounces back. This means your counters are still getting soaked while your mat stays mostly dry.
Mistake 1: Placing Your Mat Too Close to the Faucet
The splash pattern from a typical faucet extends 4 to 6 inches from where the water stream lands, not from the faucet itself. Soap dispensers add another layer of complexity because they drip in their own spot. Your hands also shake water off in a different area when you're washing them.
- Water splashes outward from the impact point, not straight down
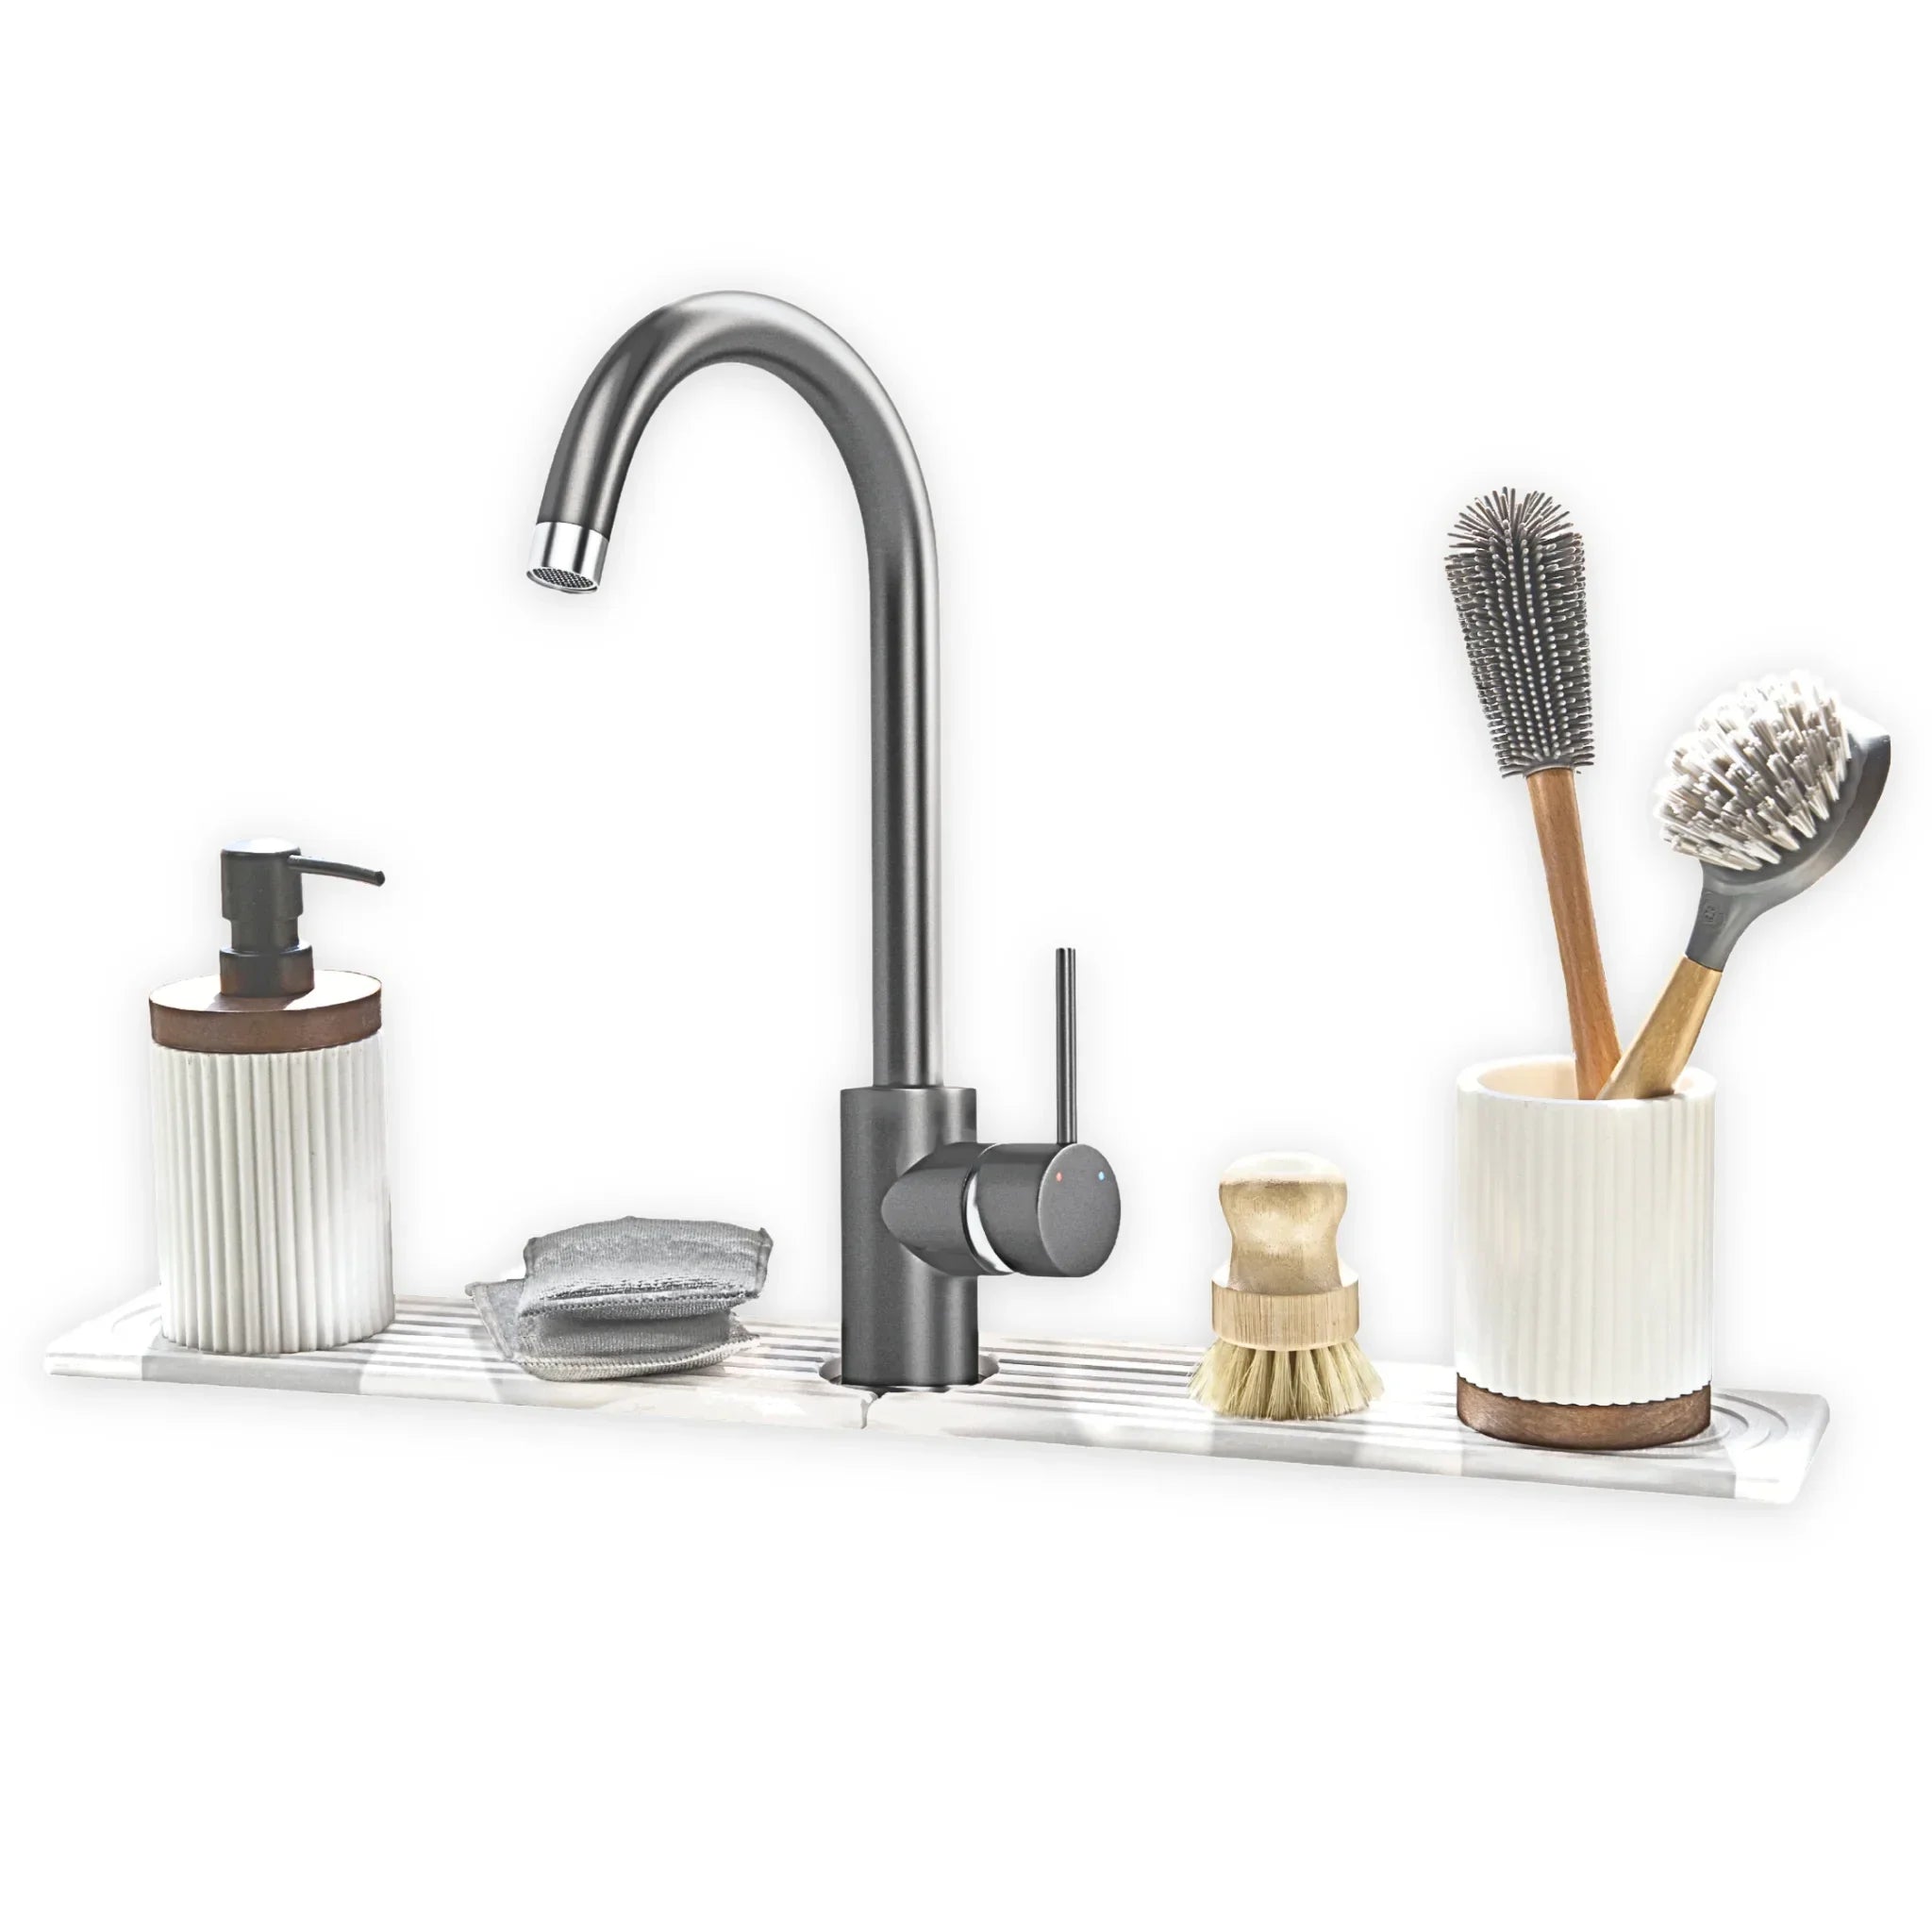
- Soap dispensers create their own drip zone that needs coverage
- Faucet handles get wet from dripping hands and need protection too
- Blocking the base of your faucet makes it harder to clean around it
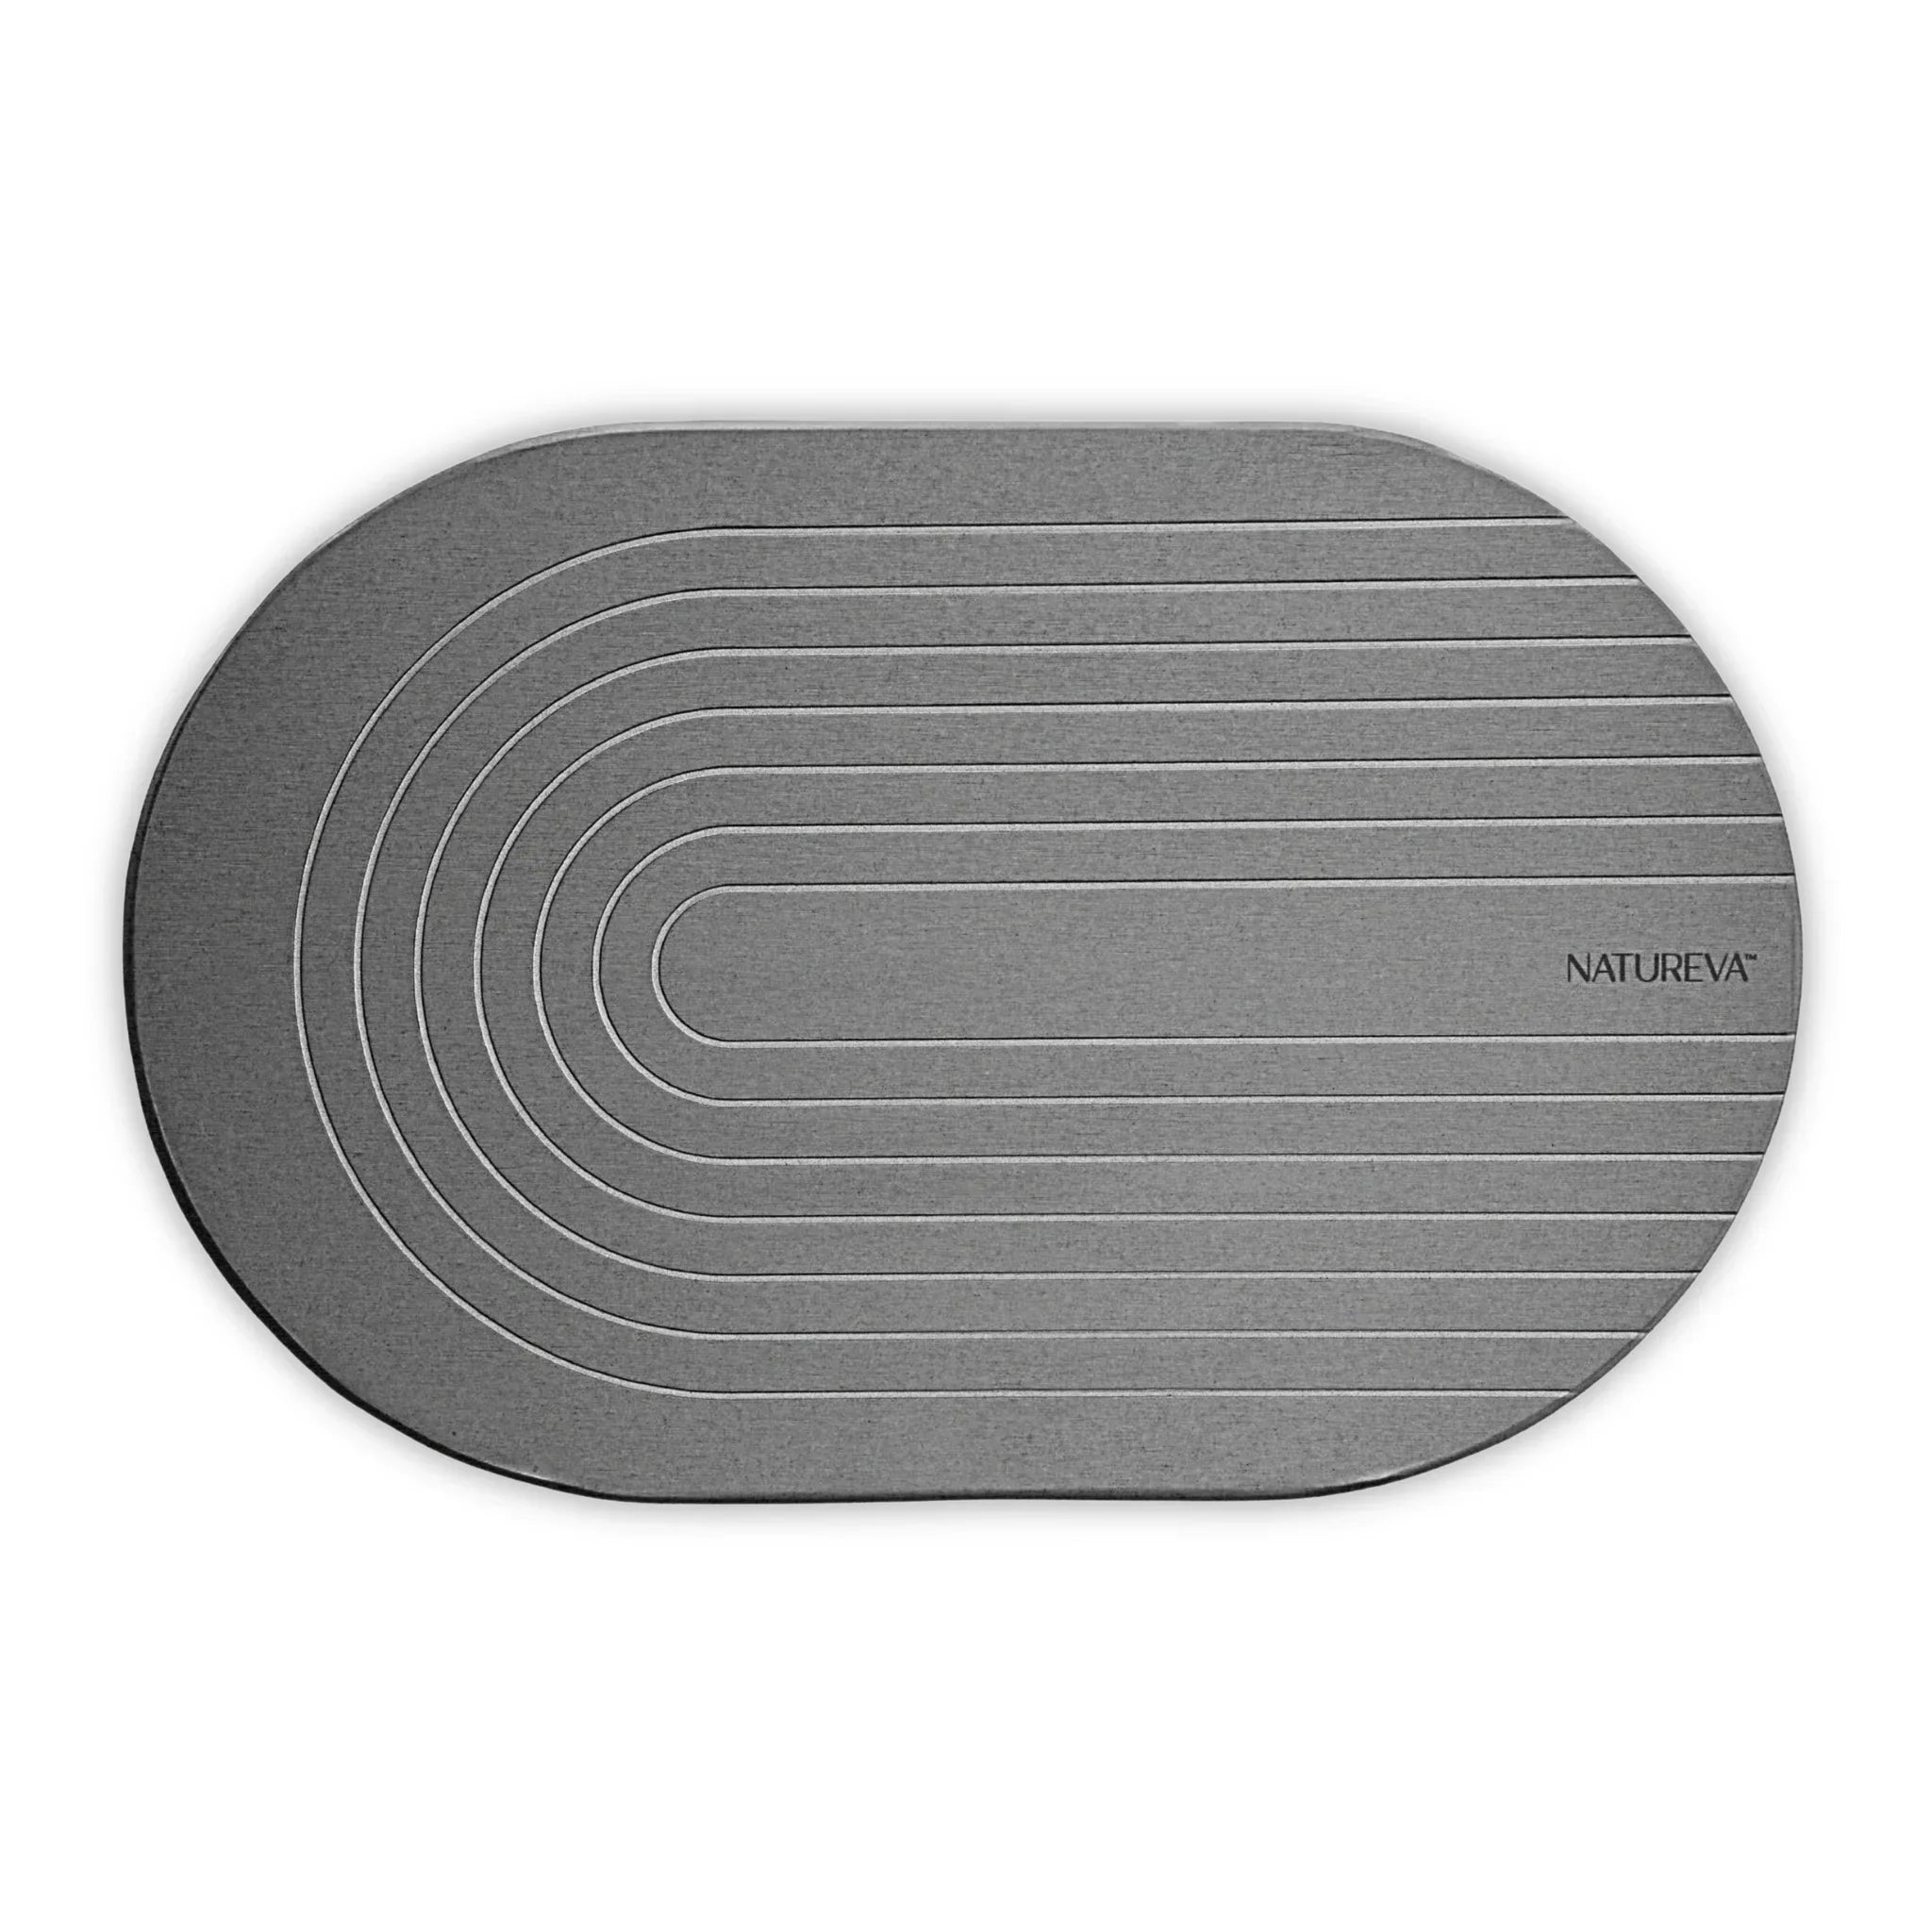
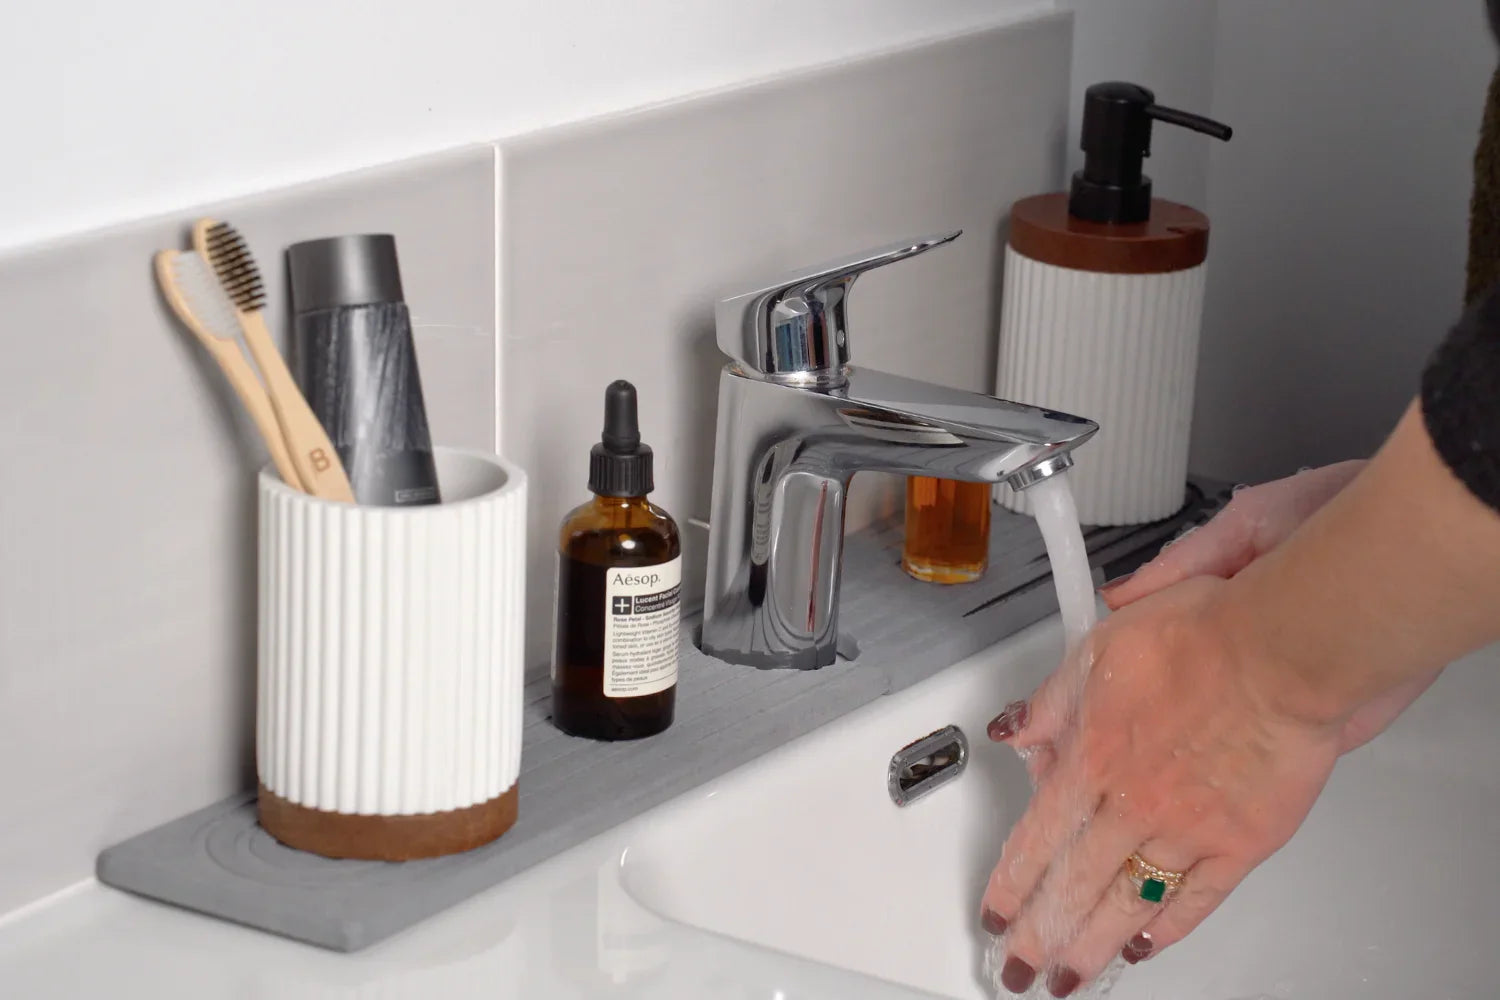
The stone faucet mat we make is 60 × 10 cm specifically to cover the actual splash zone rather than just looking centered. Position it so the mat catches where water actually lands when the faucet is running at normal pressure.
Finding the Right Position
- Turn on your faucet at normal pressure and watch where water splashes
- Note where soap dispensers drip when you pump them
- Mark the wettest spots on your counter with tape
- Place your mat to cover these areas, not the faucet base
- Test it for a day and adjust if you notice wet spots appearing
Mistake 2: Ignoring Airflow Underneath
A faucet mat that sits completely flat against your counter can't dry properly. The diatomite material absorbs water instantly, but it needs air circulation underneath to release that moisture through evaporation. Without airflow, the bottom of your mat stays damp, which eventually leads to that musty smell some people complain about. Even worse, trapped moisture can damage certain countertop materials over time.
Mistake 2: Ignoring Airflow Underneath
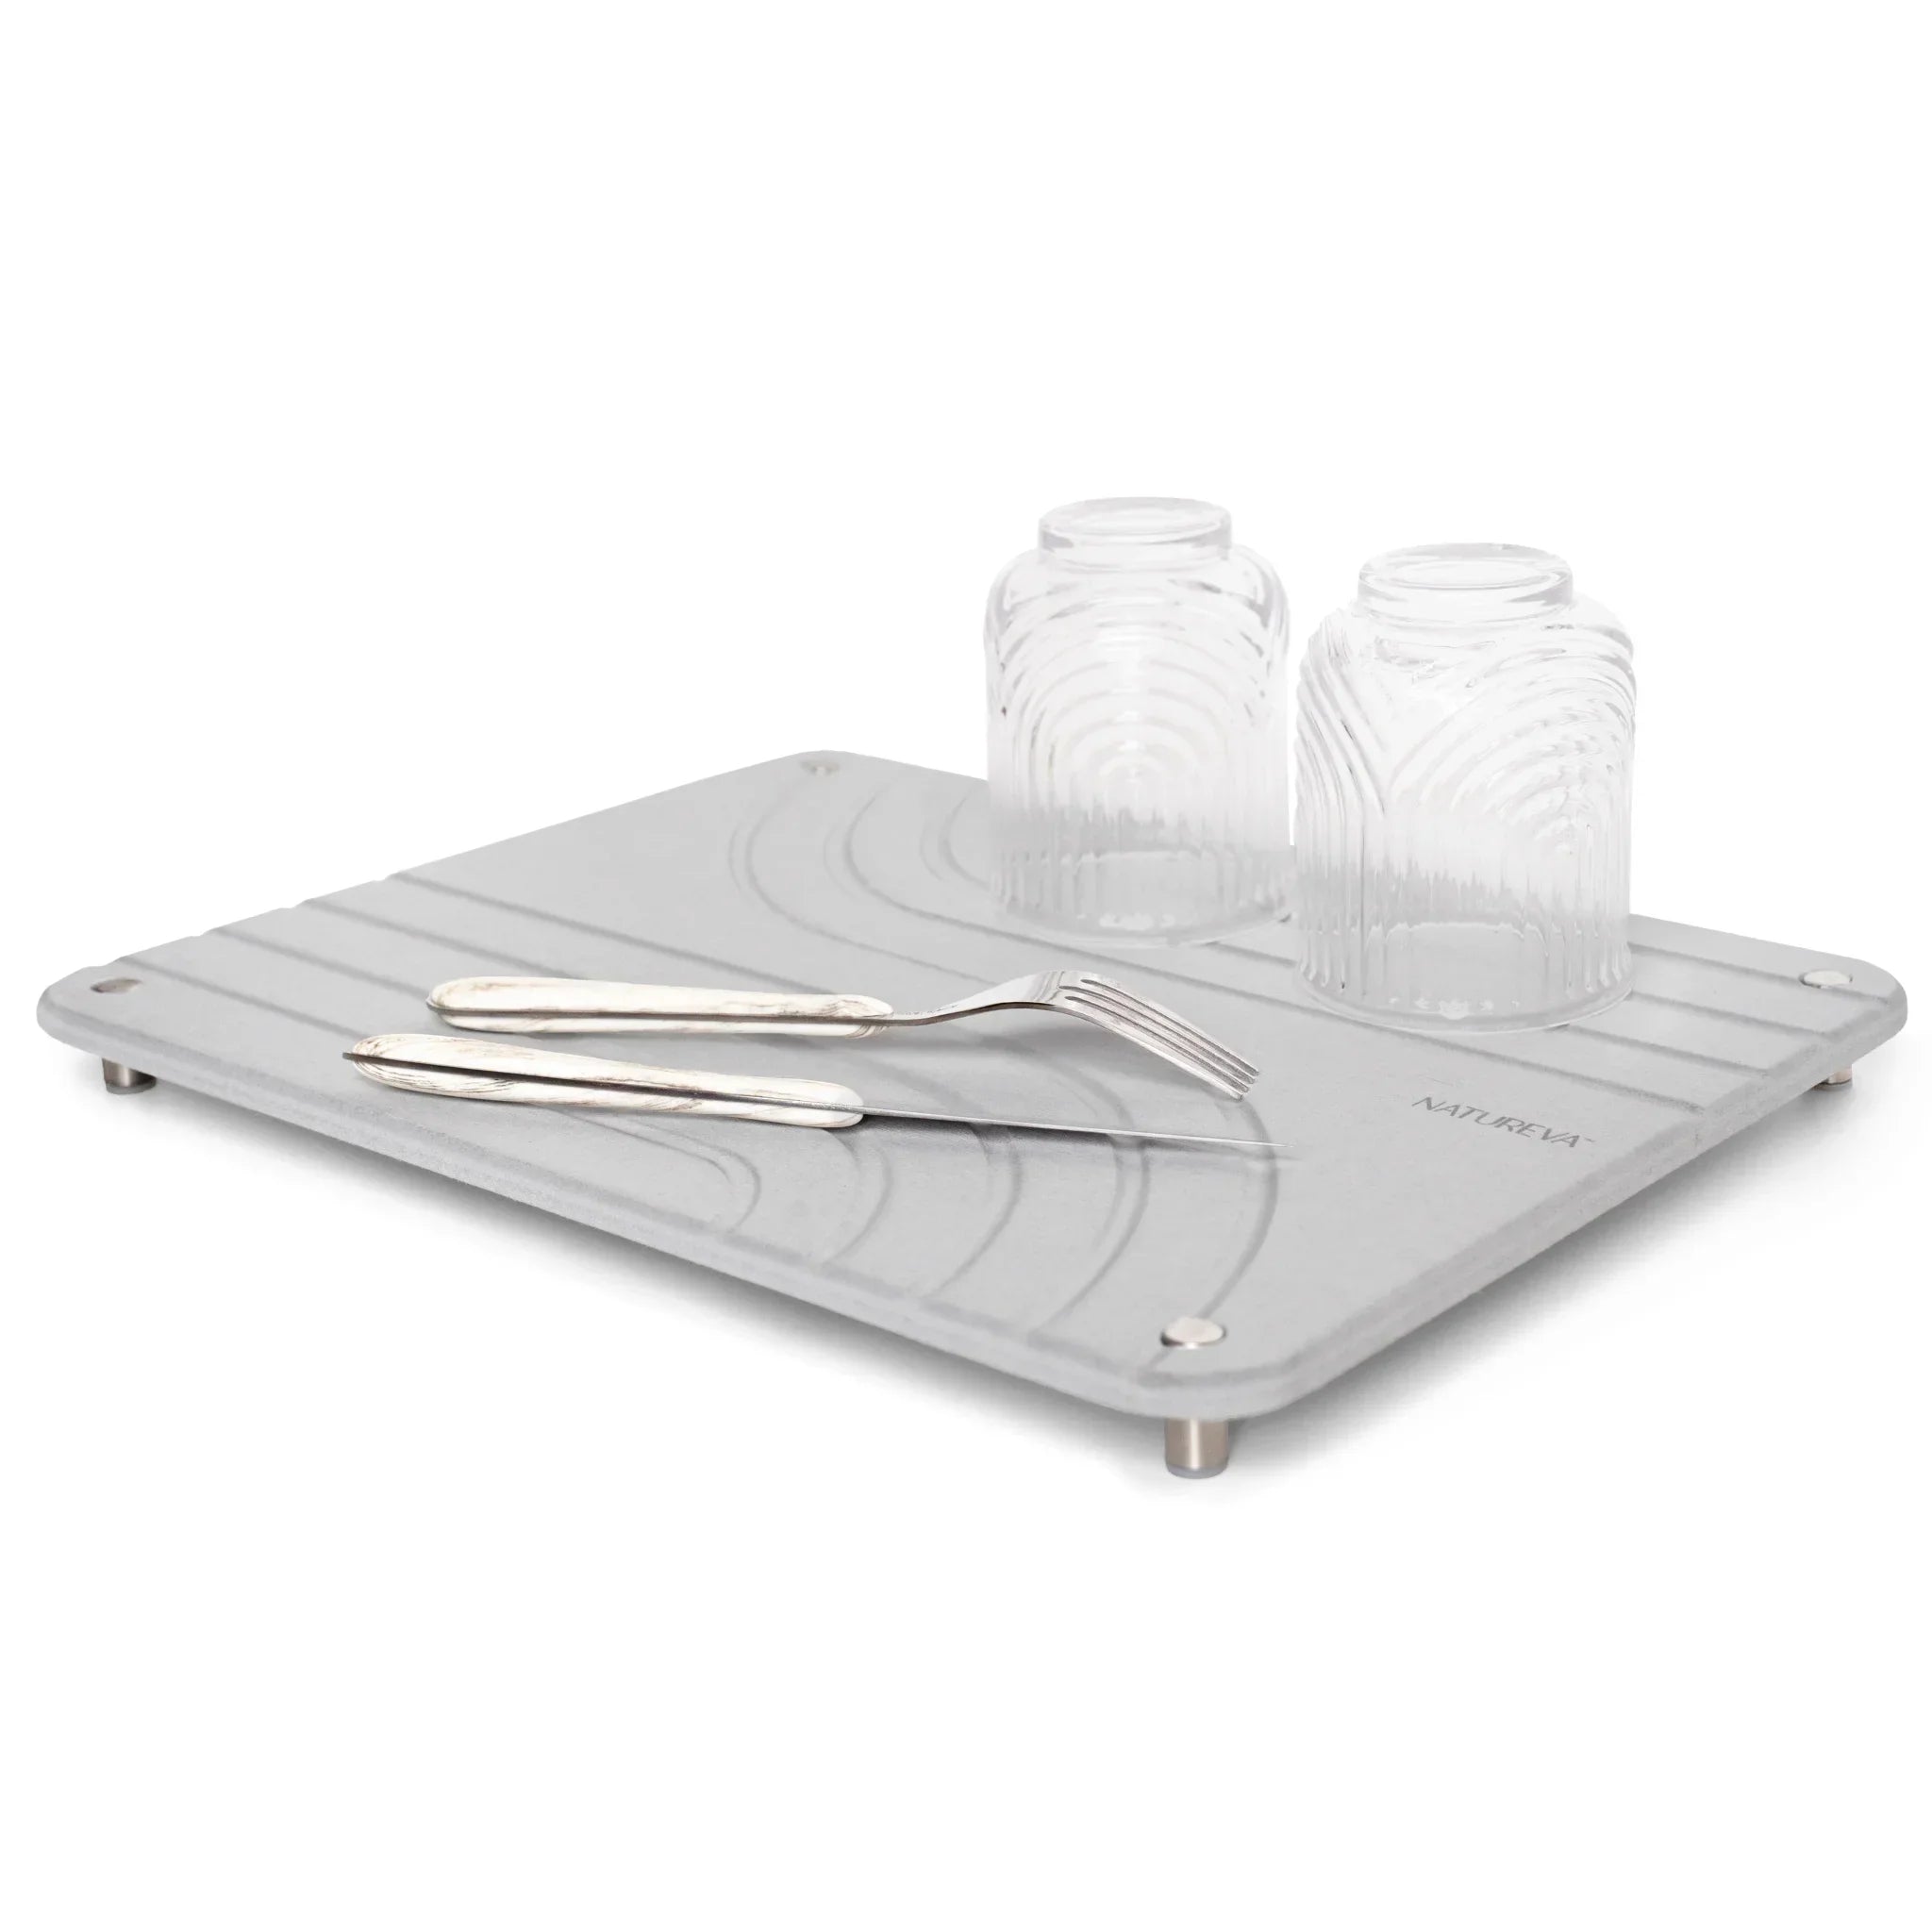
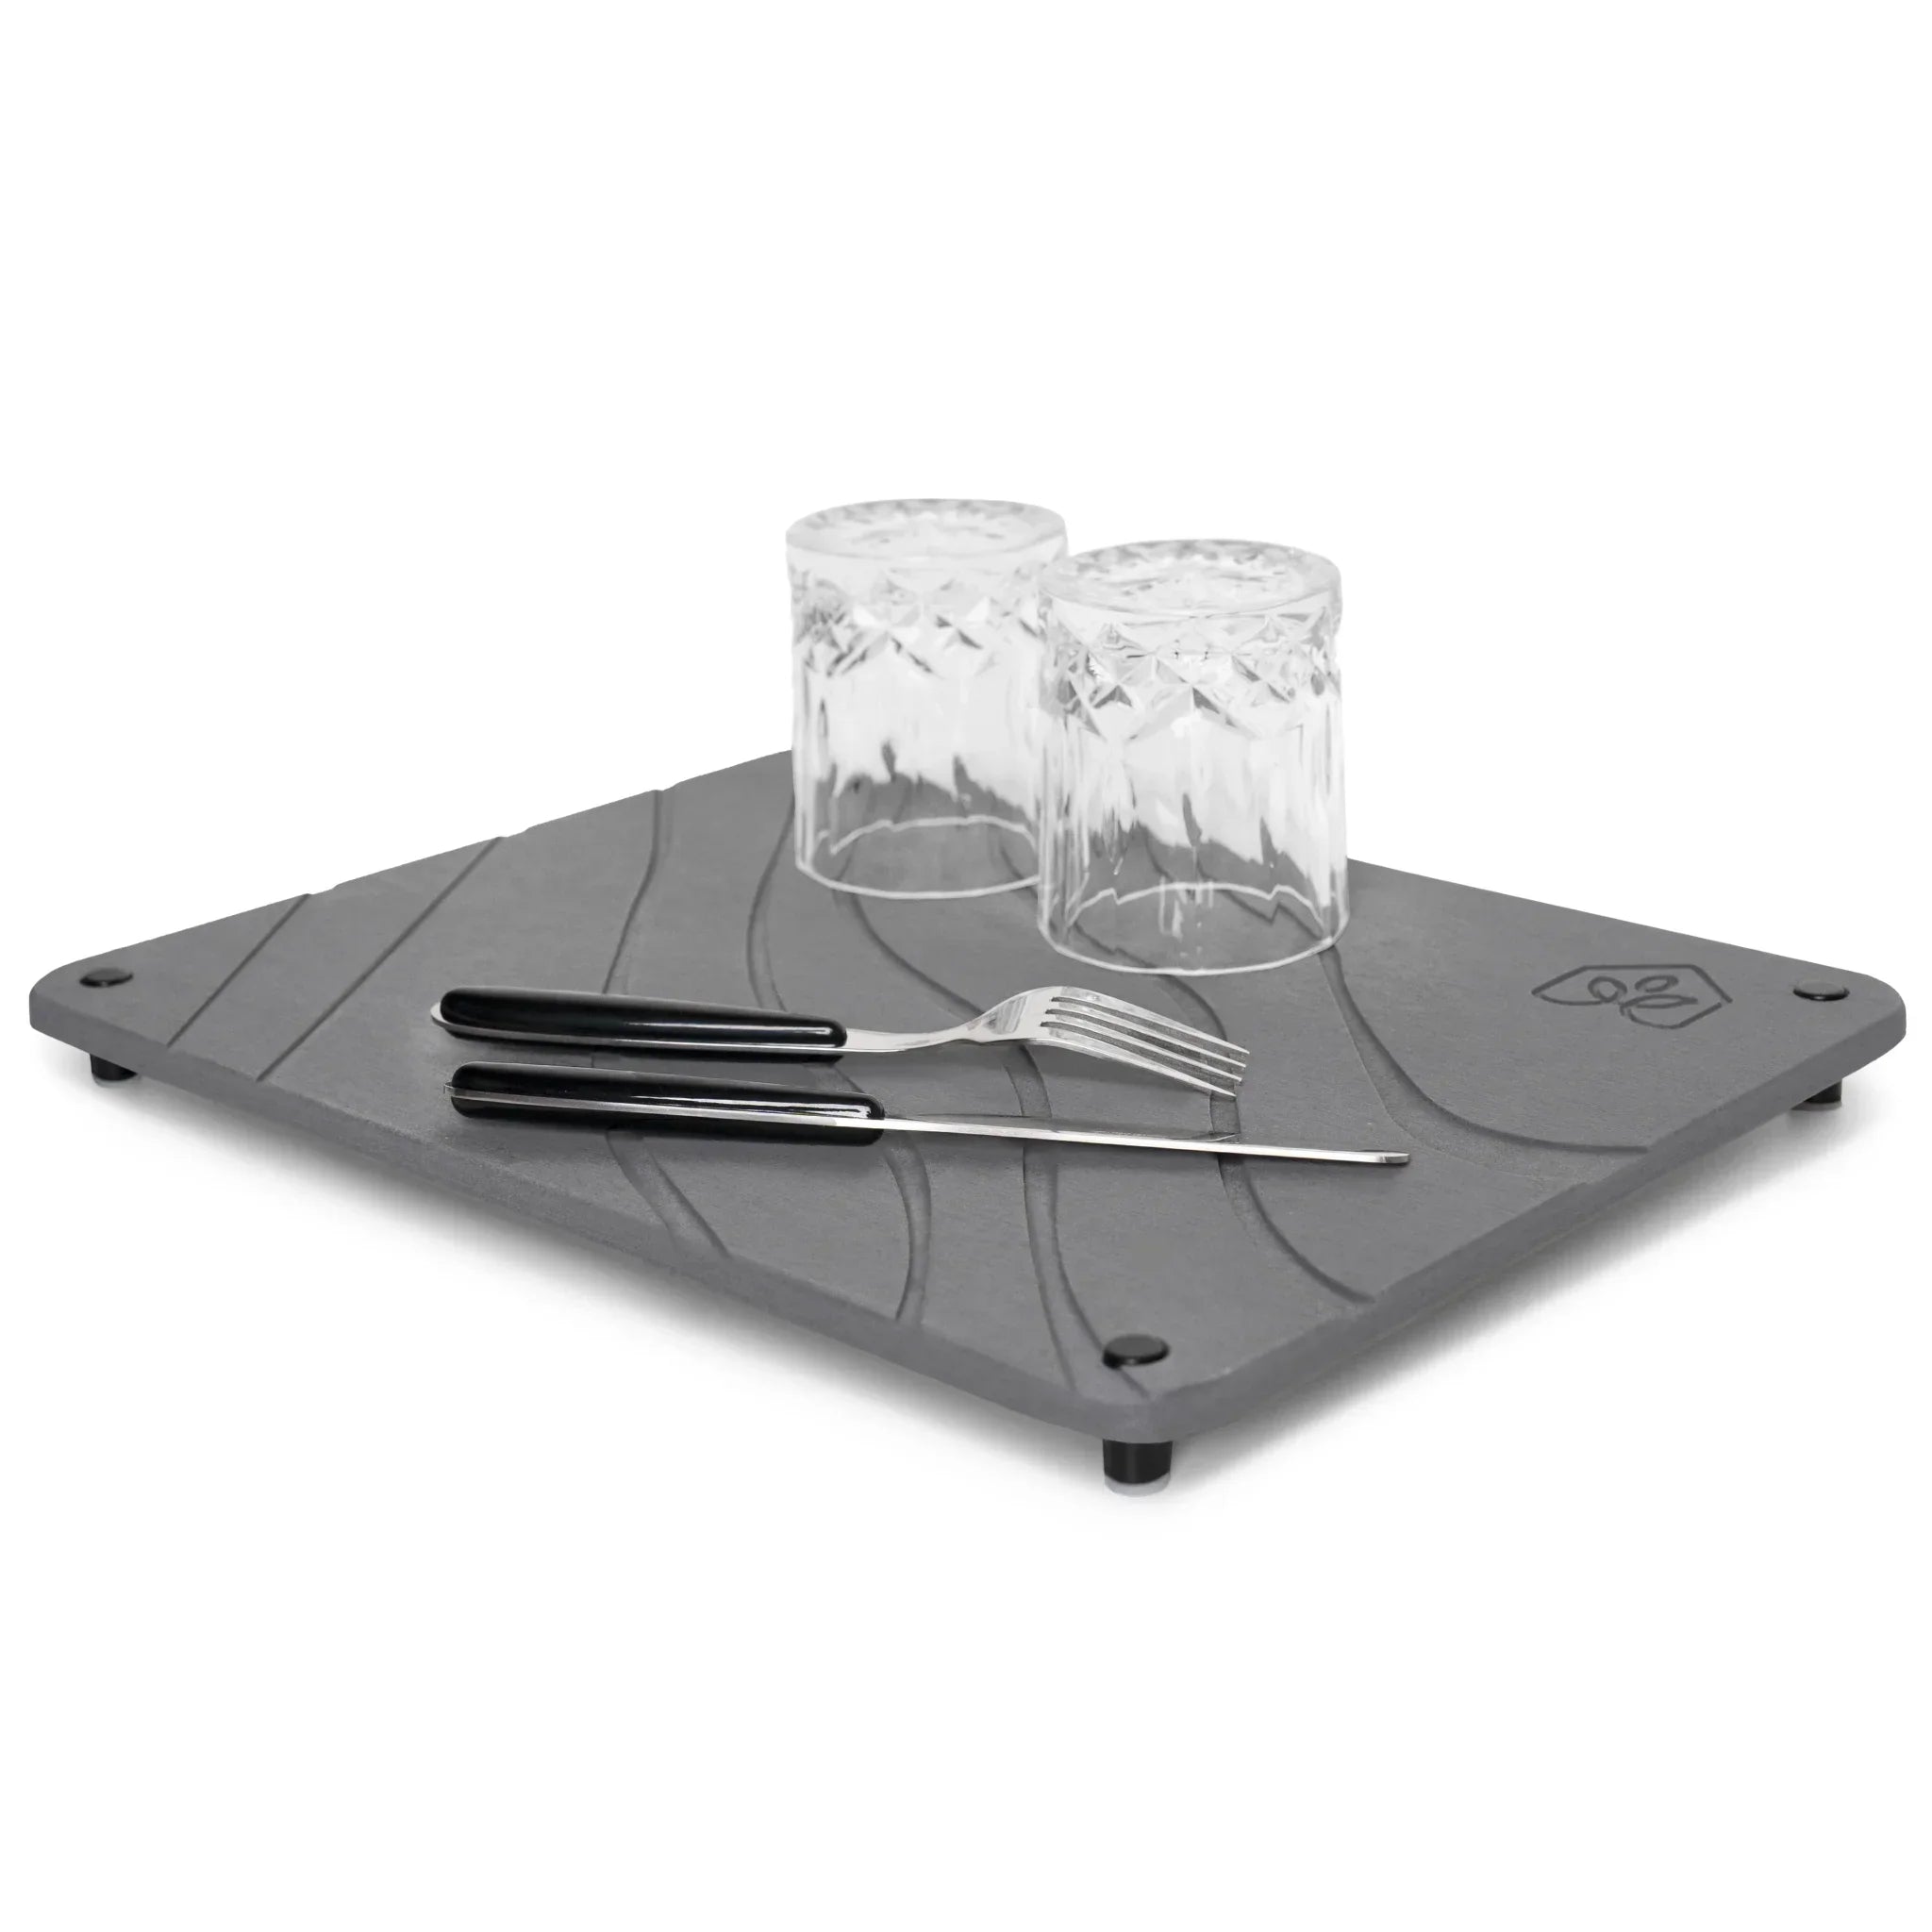
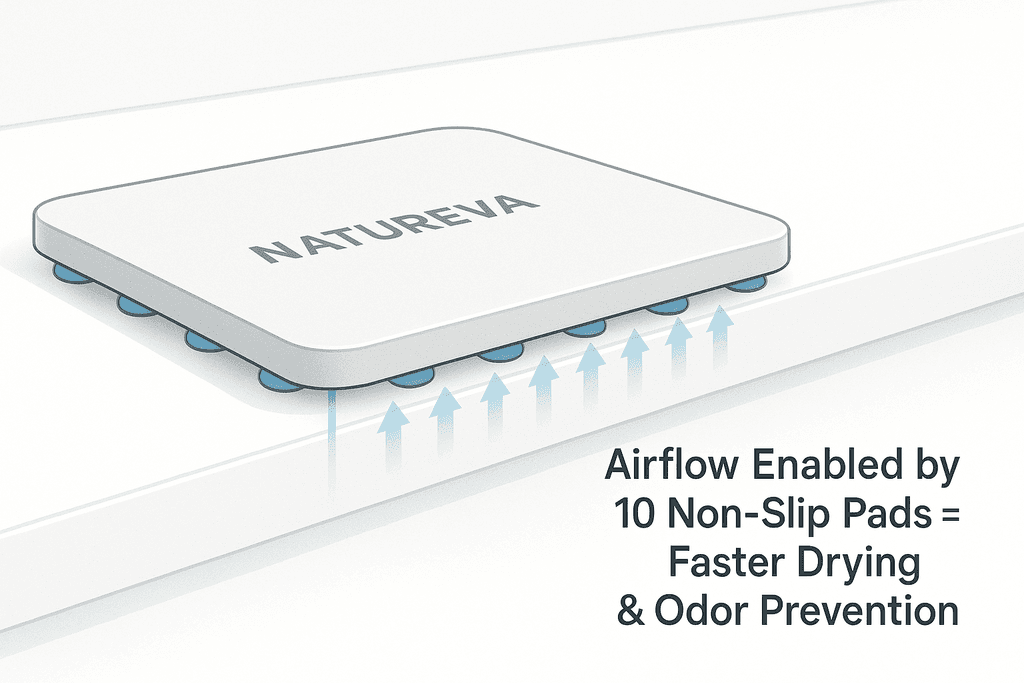
The ten rubber pads included with the mat aren't just for grip. They create tiny air gaps that let moisture escape from the bottom surface. Some people remove these pads thinking they look cleaner without them, but that cuts the mat's effectiveness in half.
The next generation of home essentials: naturally made, cleaner by design, sustainable by nature.
SHOP ALL- Flat placement traps water between the mat and counter surface
- Missing rubber pads reduce mat lifespan by about 50 percent
- Granite and marble need more airflow than laminate counters
- Proper elevation prevents water rings and discoloration on counters
If your mat feels damp to the touch after a few hours, it's not drying fast enough. Check that all ten rubber pads are attached and positioned correctly. The mat should never feel wet or cold when you touch it between uses.
Quick Airflow Check
- Lift your mat and check that all rubber pads are present and secure
- Look for water pooling or dampness on the counter underneath
- Touch the bottom of the mat after four hours of no use
- Make sure the mat isn't pushed against a backsplash that blocks air
- Verify there's at least a millimeter of space under the entire mat
Mistake 3: Wrong Mat Size for Your Sink Setup
Buying a faucet mat based on what looks good instead of what actually works is surprisingly common. A mat that's too short leaves gaps where water escapes onto your counter. One that's too long gets in the way of your workspace and ends up folded or moved constantly. The 60 cm length of our faucet mat works for most standard single-sink setups, but your specific faucet style matters more than you'd think.
High-arc faucets create wider splash zones than standard faucets because water falls from a greater height and spreads more on impact. Pull-down spray faucets add even more complexity since people use them at different angles. Double sink configurations might need two shorter mats instead of one long one.
- Measure your actual splash zone with the faucet running, not just the sink width
- Account for soap dispensers, which often sit 8 to 10 cm from the faucet
- Consider how you use your sink during peak times like morning routines
- High-arc faucets need coverage extending further from the faucet base
Before buying any mat, run your faucet for 30 seconds and see where water actually lands. That's your coverage area. Some setups work better with a sink caddy next to the faucet mat for soap dispensers and sponges.
Mistake 4: Forgetting About Maintenance Timing
Where you place your mat determines how often it needs maintenance, but most people don't realize this until stains appear. A mat positioned directly in the path of colored hand soap will need cleaning twice as often as one placed slightly to the side. Hard water areas create mineral buildup faster when the mat sits in the heaviest splash zone. The maintenance schedule that works for someone else might not work for your specific placement and water quality.
Visual inspection is more reliable than following a set schedule. Look for white spots from mineral deposits, discoloration from soap, or any areas that feel less absorbent than others. These signs tell you it's time to use the included sanding tool or give the mat a vinegar rinse.
- Mats near colored soaps need weekly inspection instead of monthly
- Hard water creates visible mineral buildup that reduces absorption
- High-traffic family bathrooms need more frequent sanding than guest sinks
- Placement near windows or heat sources speeds up mineral deposit formation
The sanding tool included with every mat restores absorbency in about 30 seconds. If you notice water sitting on the surface instead of absorbing instantly, a quick sand fixes it. For deeper stains, the care guide covers everything from hydrogen peroxide treatments to proper drying techniques.
Rotating your mat's position every few months also helps. If one section gets more use than another, flip it around so wear distributes evenly. This simple habit can double how long your mat maintains peak performance. The same principle applies to other diatomite products like bath mats and dish mats throughout your home.
Getting Your Faucet Mat Placement Right
Here's the thing about faucet mats: where you put them matters more than which one you buy. Most of the damage to your counters happens because the mat is sitting in the wrong spot, not because the mat itself is bad. The good news is that almost every placement mistake can be fixed in about thirty seconds without spending another dollar.
The biggest takeaway is simple. Your stone faucet mat needs airflow underneath to work properly. Without it, water gets trapped and your countertop stays wet longer than it should. That's when stains, warping, and mold start showing up.
Small adjustments make a huge difference. Moving your mat a few inches forward or backward based on where water actually lands can double its effectiveness. Checking the rubber pads every few weeks keeps everything stable and prevents moisture from sneaking underneath.
Our Stone Faucet Mat in Arch pattern comes with ten non-slip rubber pads that create the airflow gap you need. The diatomite absorbs water instantly while the raised design lets everything dry fast. It's 60 × 10 × 0.9 cm, which fits most standard sink areas without crowding your workspace.
Regular position tweaks based on how you actually use your sink will extend the life of any mat. Pay attention to where splashes land during your busiest times and adjust accordingly. The same principles apply whether you're protecting kitchen counters or bathroom vanities.
Common Faucet Mat Questions
How far should a faucet mat sit from the faucet base?
Your faucet mat should sit flush against the faucet base or within half an inch of it. Any further away and you'll miss the drips that matter most, the ones that fall straight down from the spout and handles. The Natureva Stone Faucet Mat in Arch pattern is designed at 60cm long to wrap around most standard faucets and catch splashes from both sides.
Why does my mat stay wet even though it's diatomite?
A diatomite stone faucet mat that stays wet usually means the pores are clogged with soap residue, hard water minerals, or the mat isn't getting enough airflow underneath. Check that all ten rubber pads are properly attached to lift the mat off the counter. If the surface feels slick or filmy, wipe it down with a vinegar-water solution and let it dry completely upright before placing it back.
Can I use a faucet mat on any countertop material?
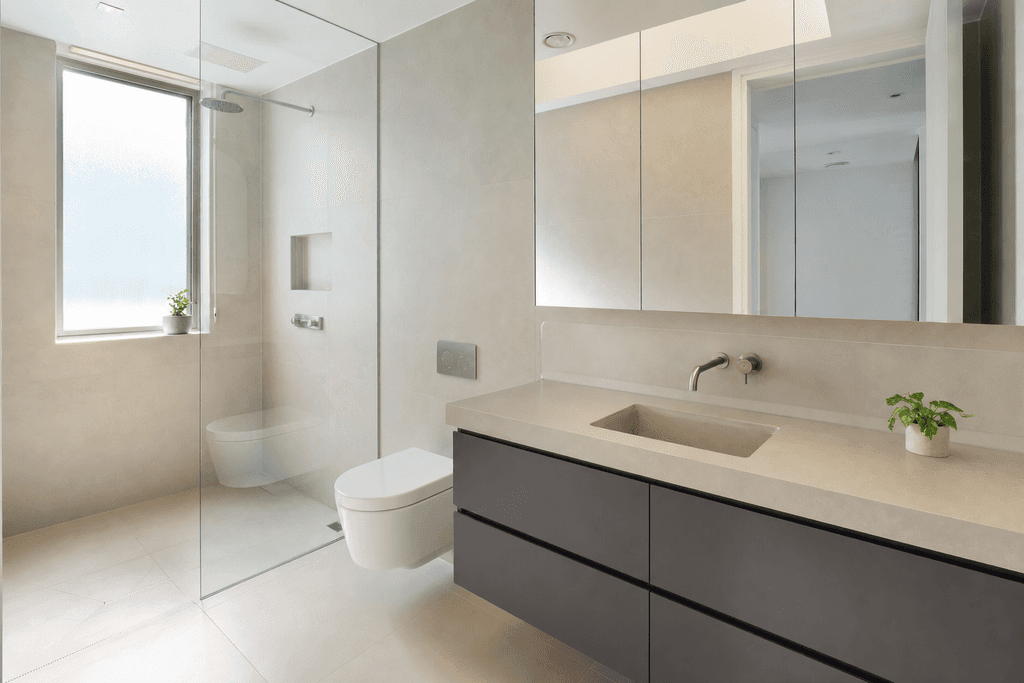
Yes, but placement matters more on certain surfaces. Granite, quartz, and laminate handle moisture well, so you have more flexibility. Wood, marble, and concrete are porous and stain easily, which means your mat needs to sit exactly where water lands, not just close to it. The non-slip rubber pads on a stone faucet mat also protect delicate surfaces from scratches while keeping the mat stable.
How do I know if my mat is positioned correctly?
Run your faucet for ten seconds and watch where the water lands. If you see drips or puddles forming on the counter around the mat, it's not covering the right zone. Your faucet mat should catch every drop without you needing to adjust it daily. You'll know it's right when your countertop stays completely dry after normal use.
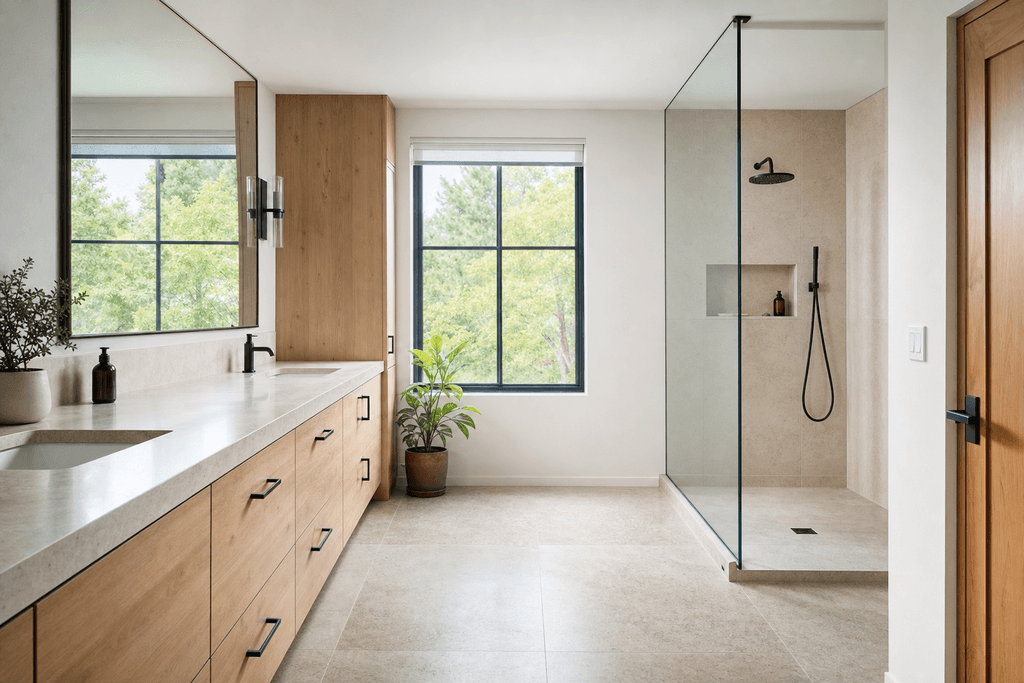
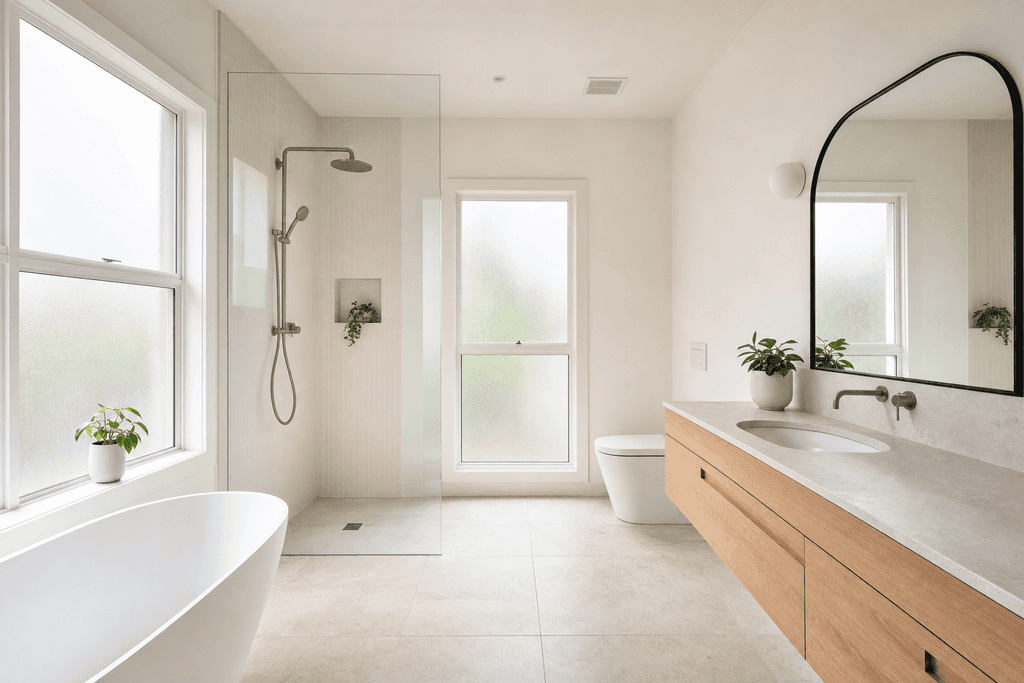
What's the difference between kitchen and bathroom faucet mat placement?
Kitchen faucets usually have pull-down sprayers and higher spouts, so water splashes in a wider radius. Your mat needs to extend further out to catch spray from rinsing dishes. Bathroom faucets are lower and more contained, so the mat can sit tighter to the base. Both need the same airflow underneath, but kitchen mats often get wetter faster and need more frequent cleaning.
How often should I reposition my faucet mat?
Once you've found the right spot, you shouldn't need to move it at all. The rubber pads keep it stable even with daily use. The only time to reposition is if you notice new wet spots forming on your counter, which usually means your usage pattern has changed or the mat has shifted slightly during cleaning.
The next generation of home essentials: naturally made, cleaner by design, sustainable by nature.
SHOP ALL