

How to Cut Diatomite Stone Without Cracking It
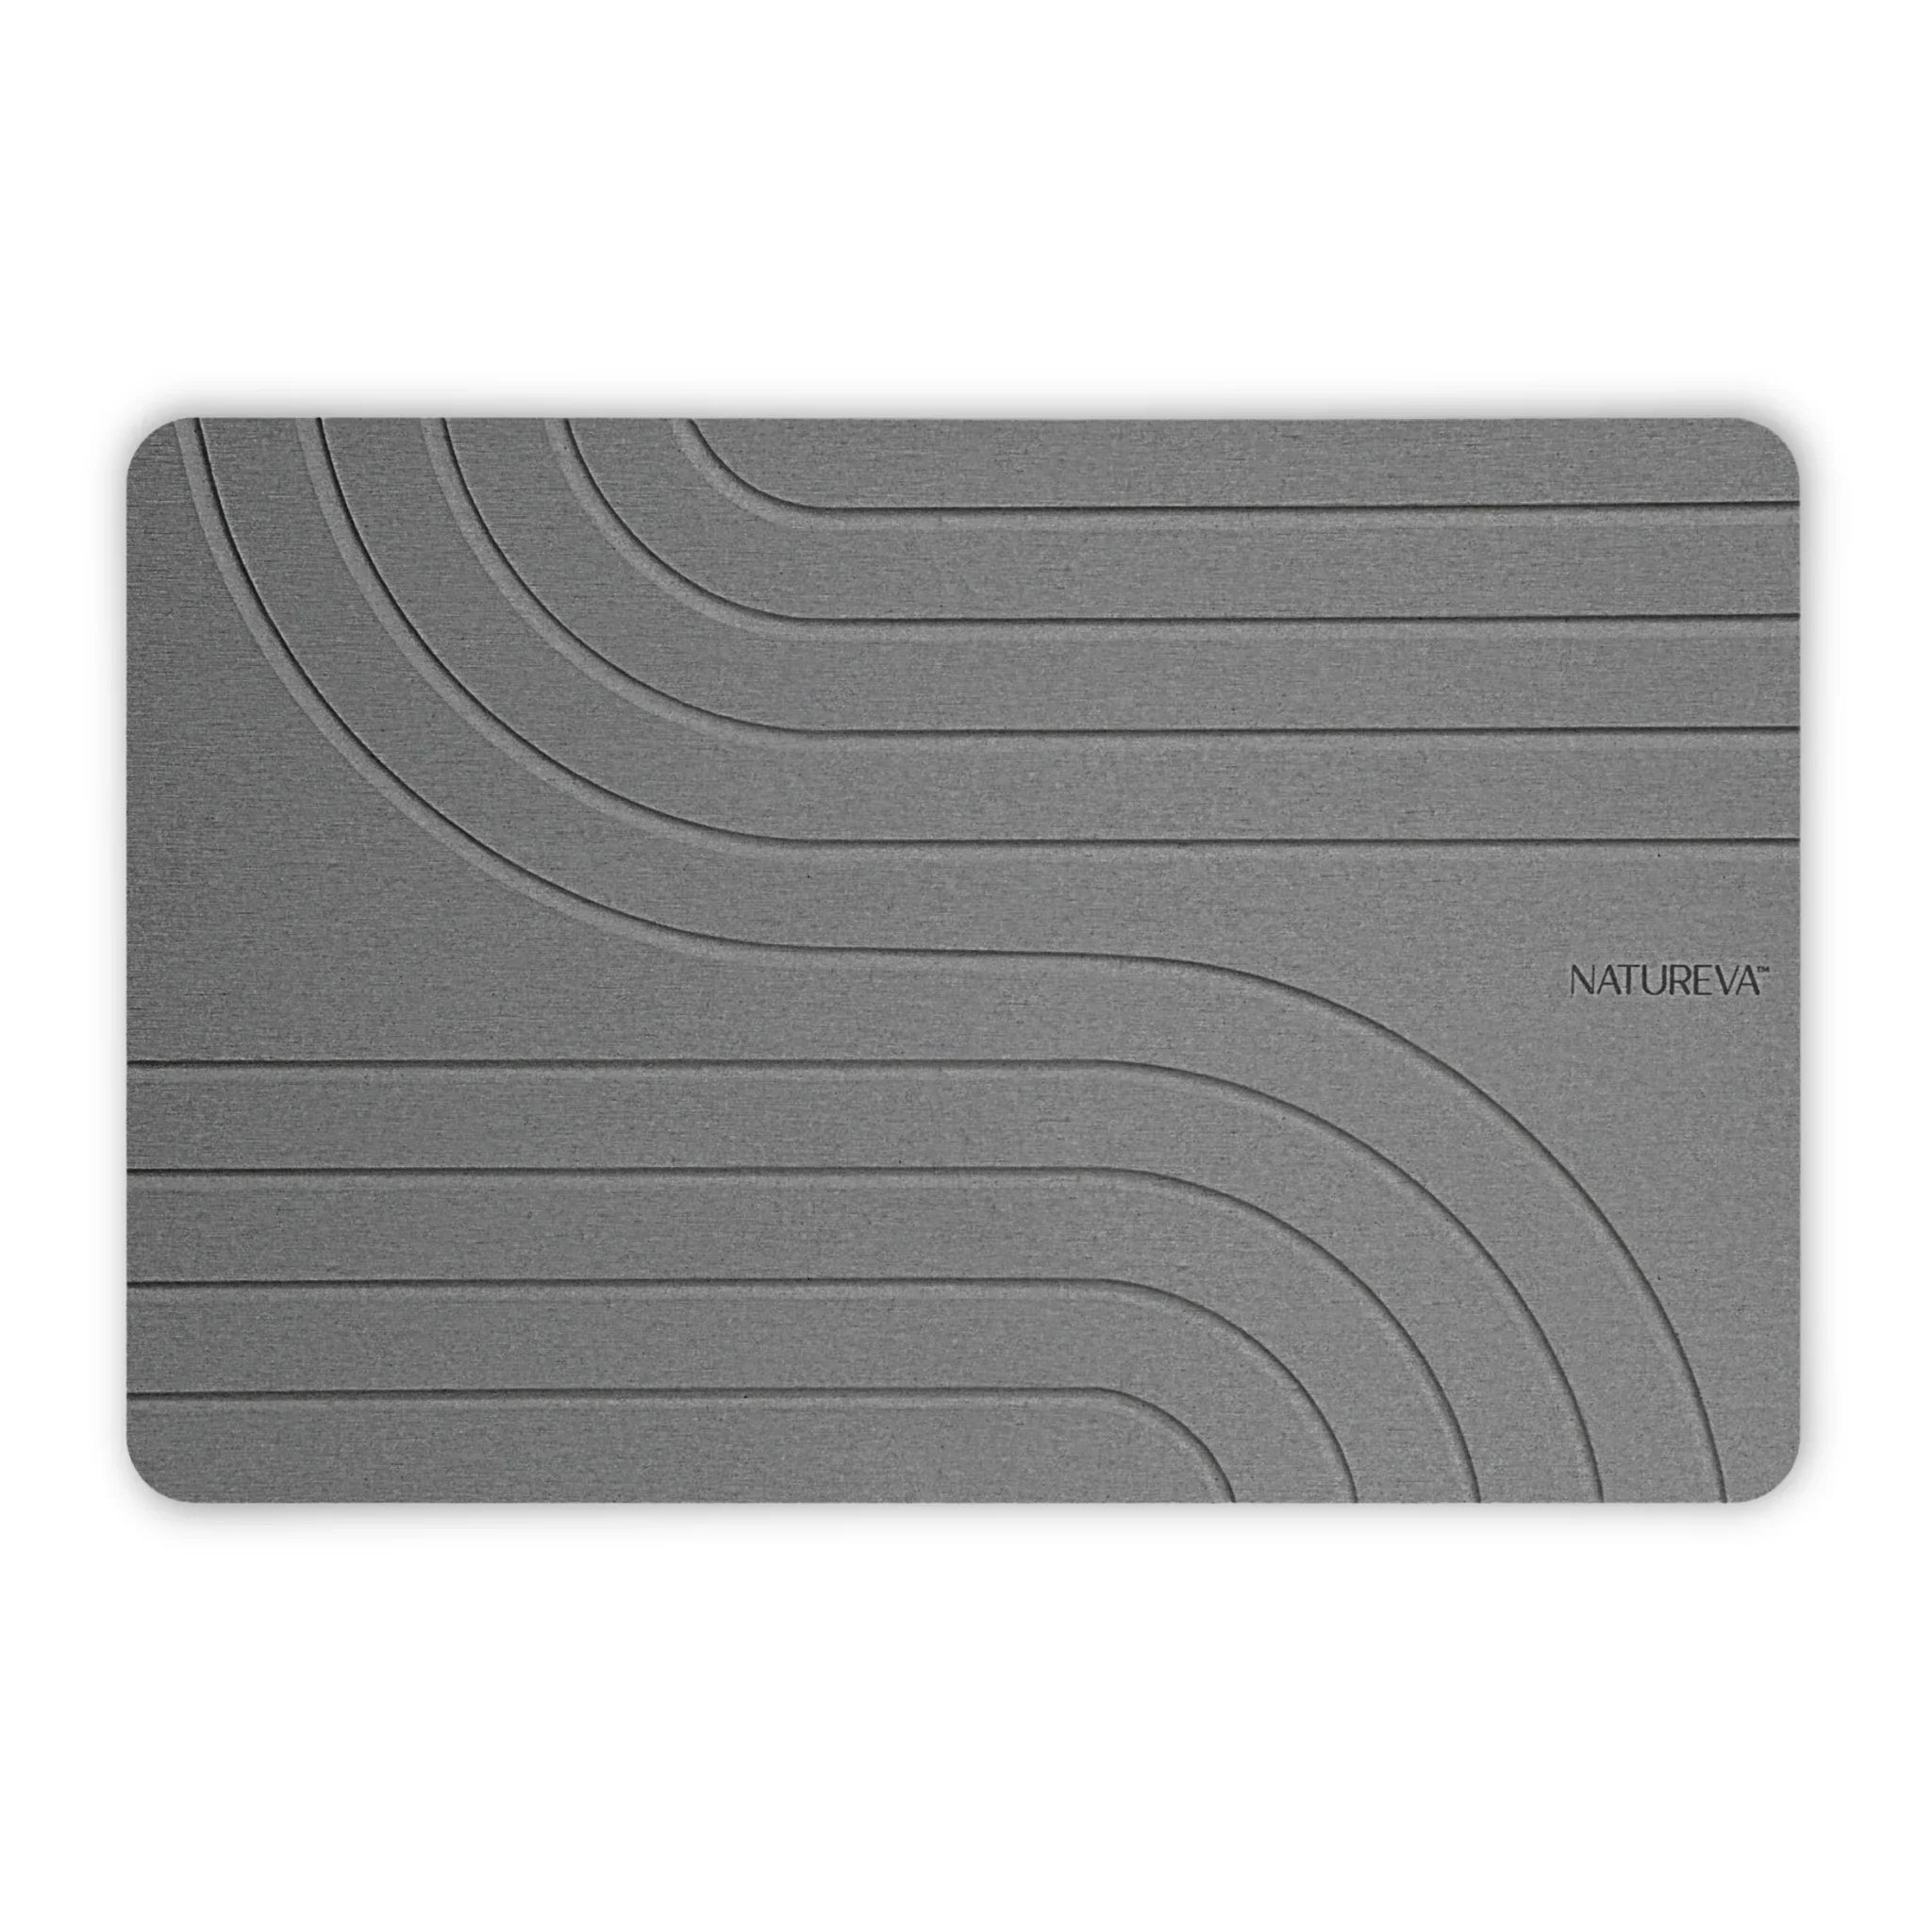
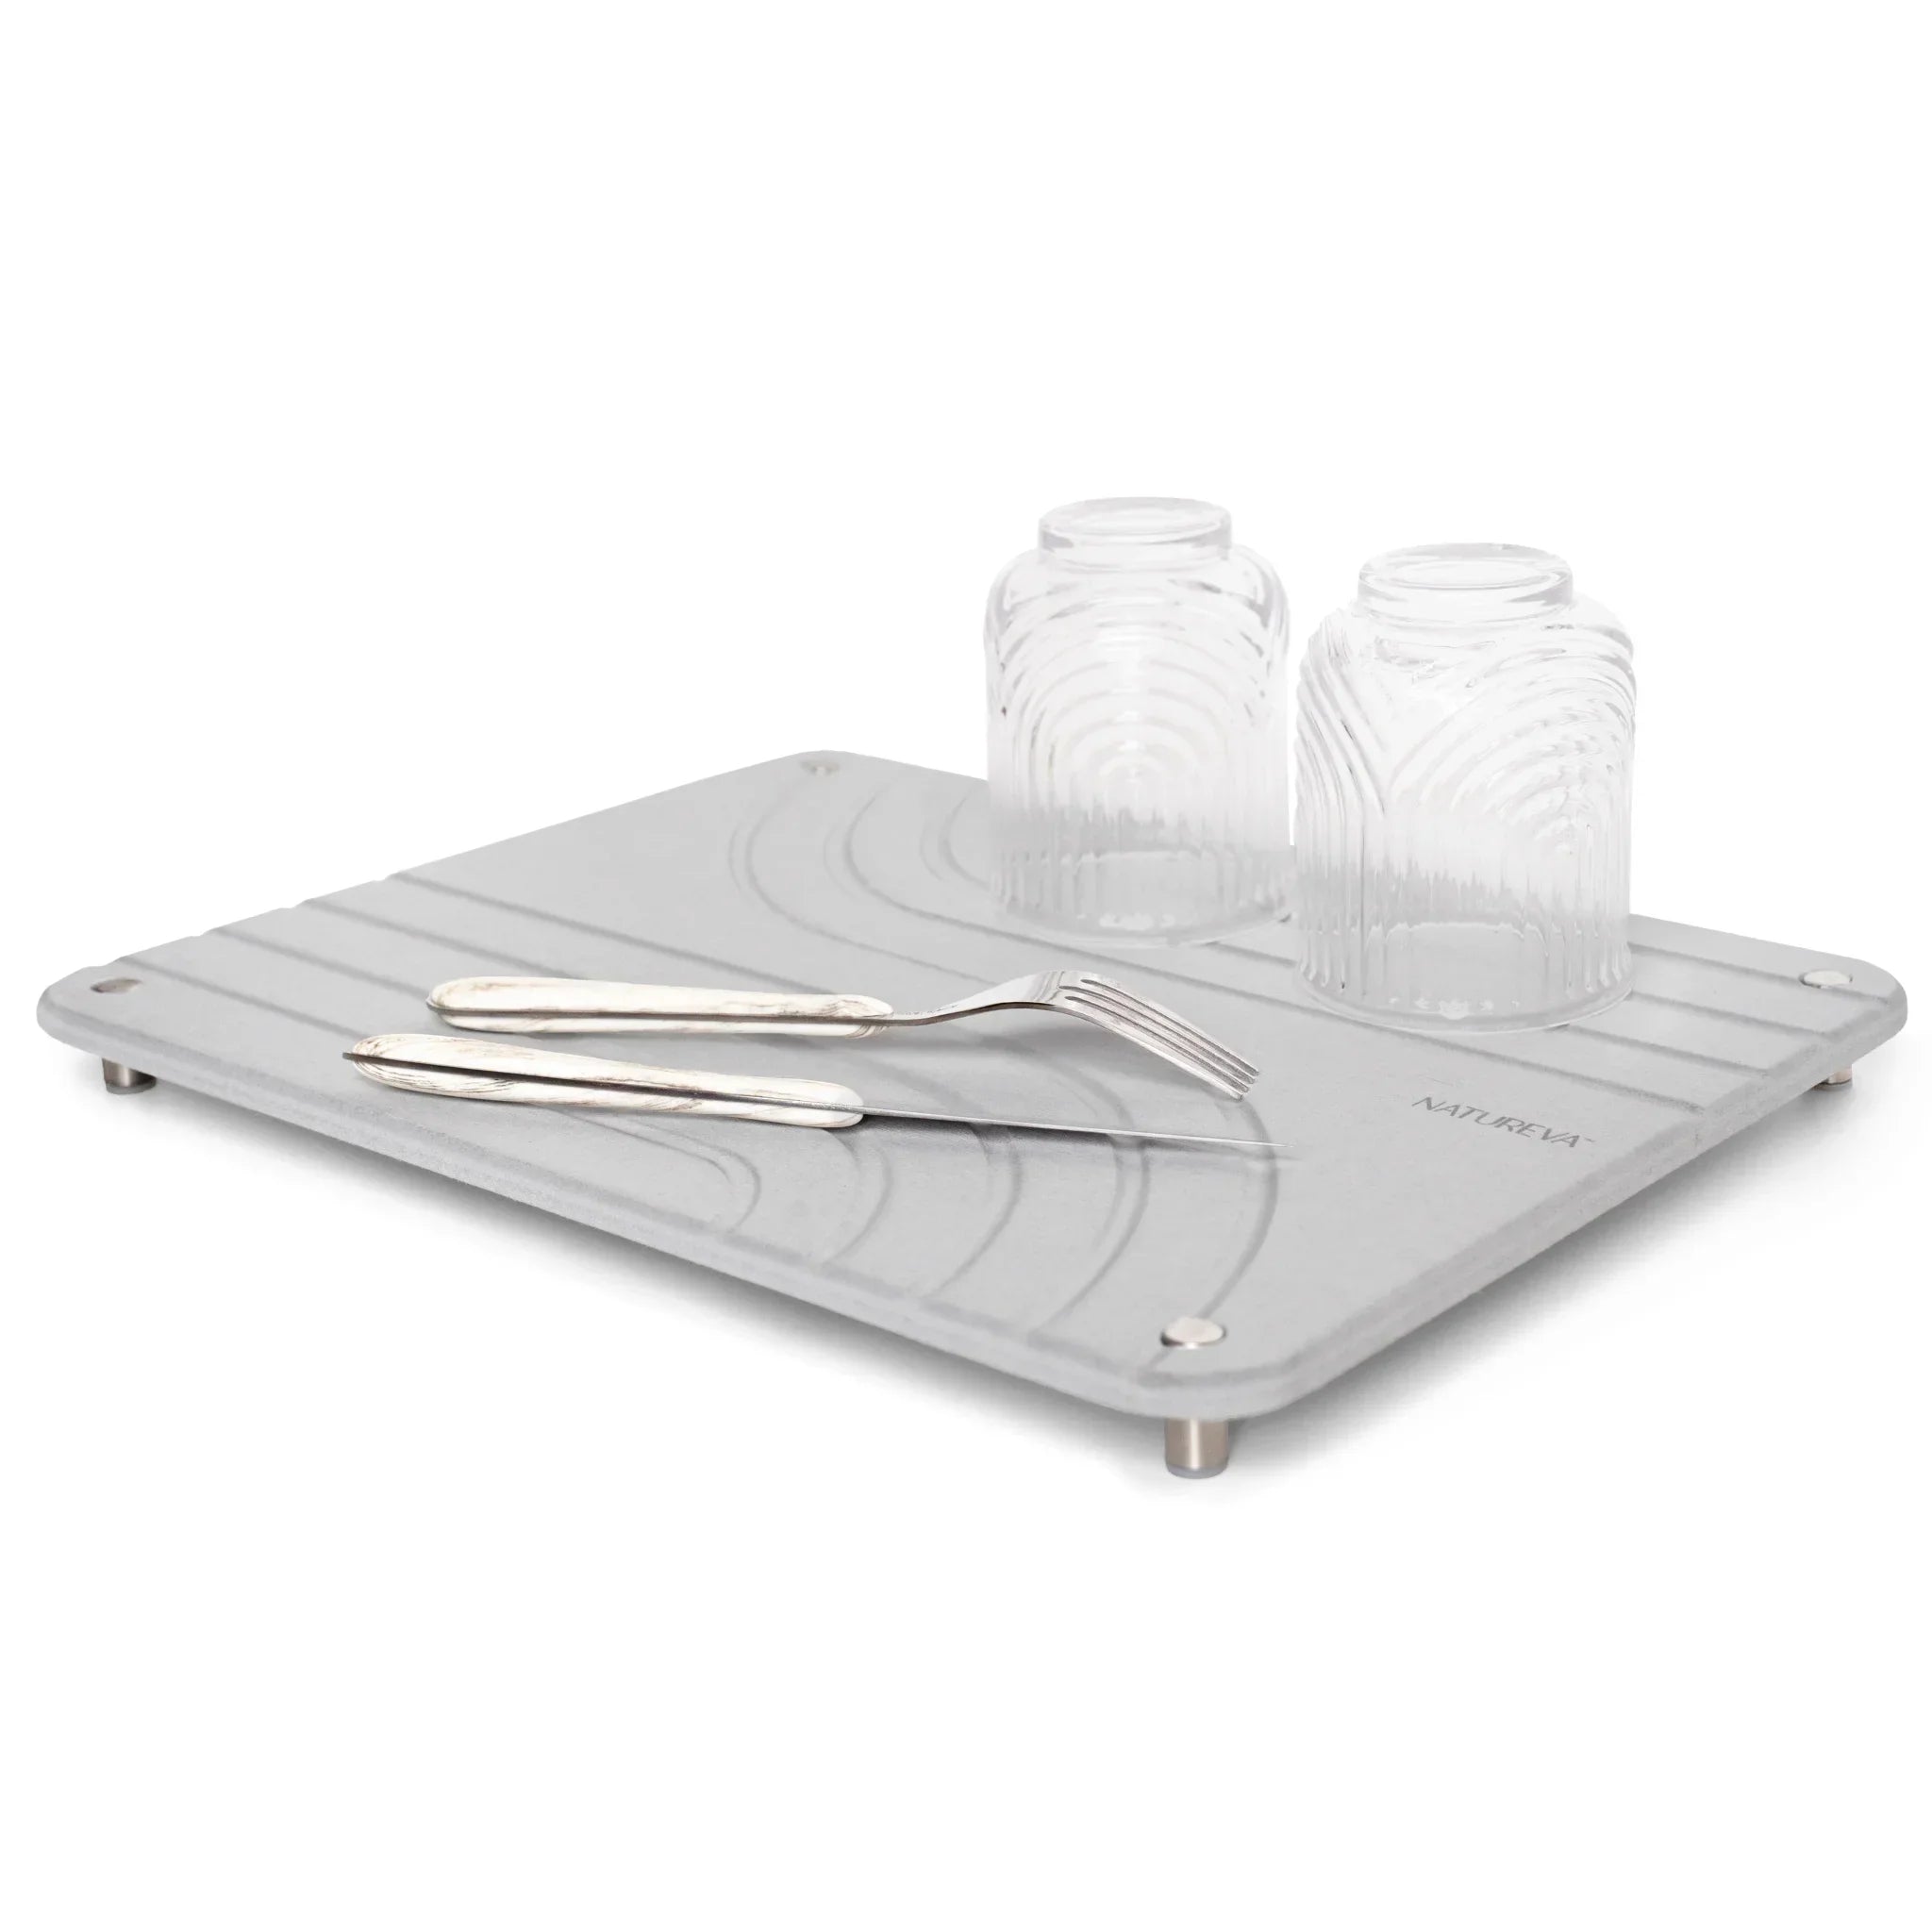
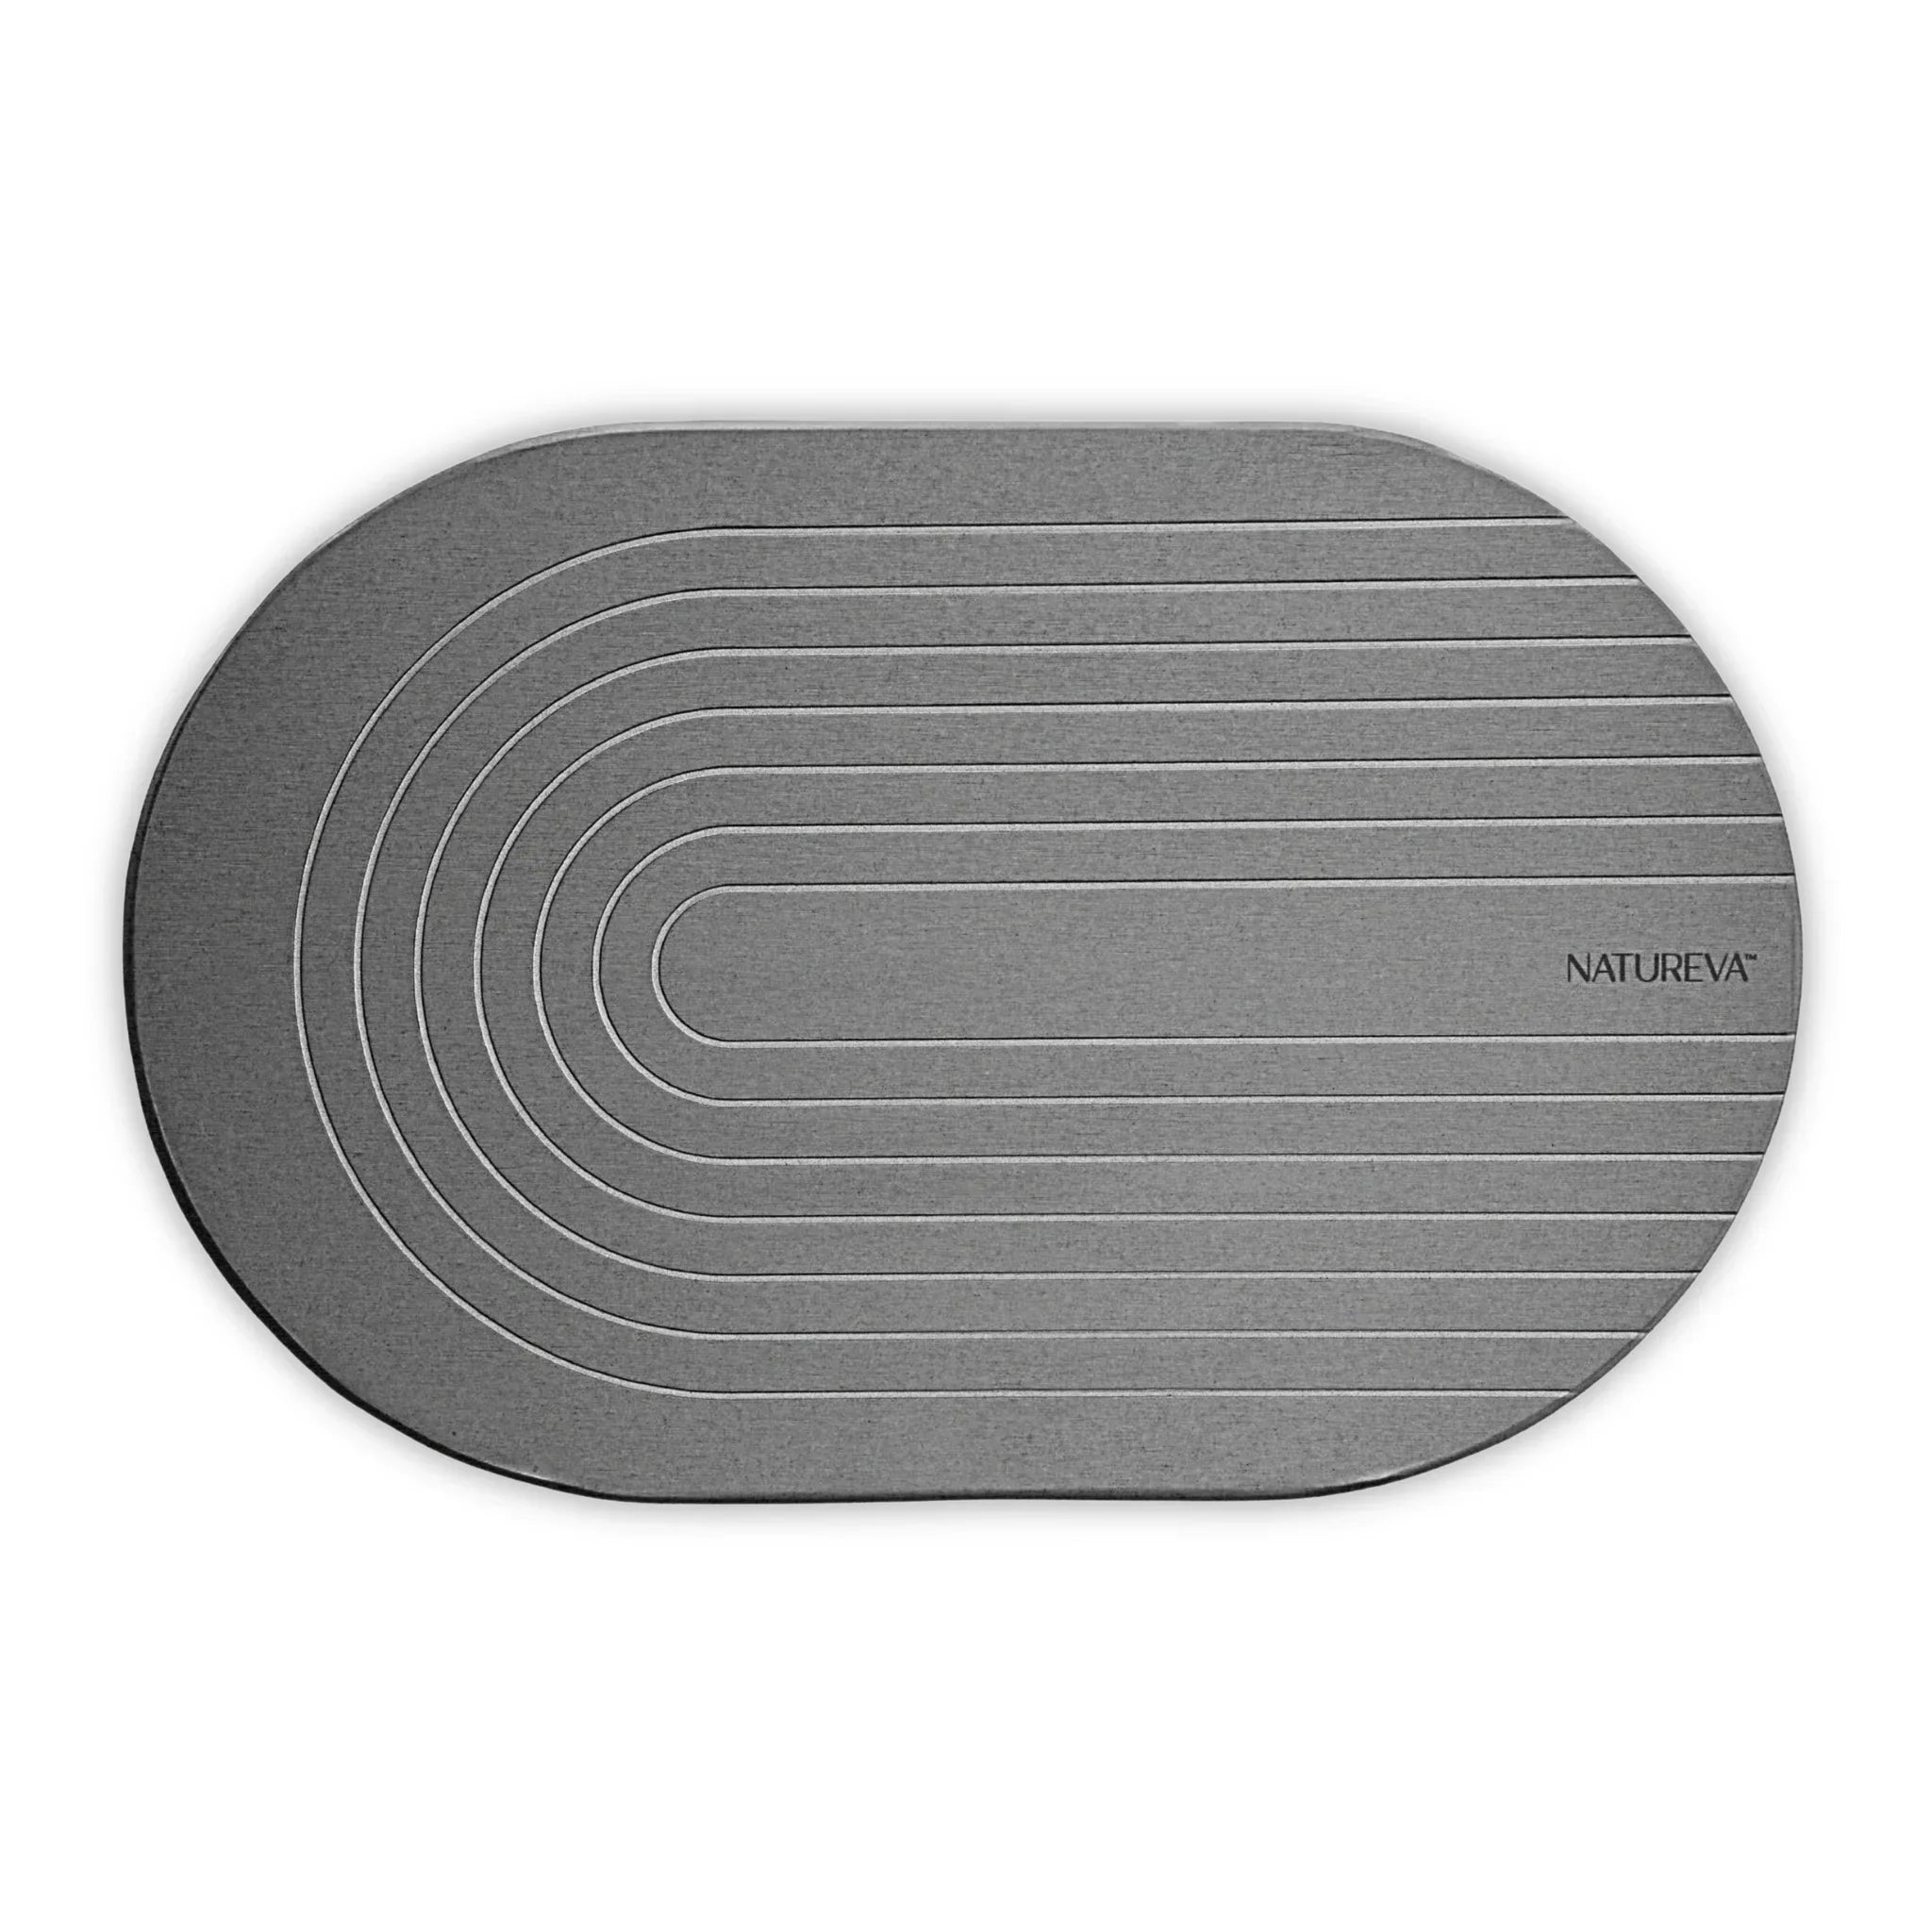
Diatomite stone's honeycomb structure of millions of microscopic pores makes it incredibly absorbent, but those same pores also make it surprisingly fragile when you try to cut it. Most people assume they can treat it like regular tile or stone, only to watch their bath mat or coaster crack straight down the middle. Understanding how to cut diatomite stone properly means working with its unique composite construction rather than against it, which is why products like Natureva's stone bath mats and accessories are precision-engineered to size so you rarely need to modify them.
Table of Contents
Understanding Diatomite Stone Composition
Diatomite stone isn't actually stone at all in the traditional sense. It's made from fossilized algae called diatoms that lived millions of years ago, and their tiny skeletons created layers of sediment that eventually became the material we use today. The structure is filled with millions of microscopic pores, which is exactly what makes it so good at absorbing water instantly. But those same pores also make it tricky to cut without causing cracks or breaks.
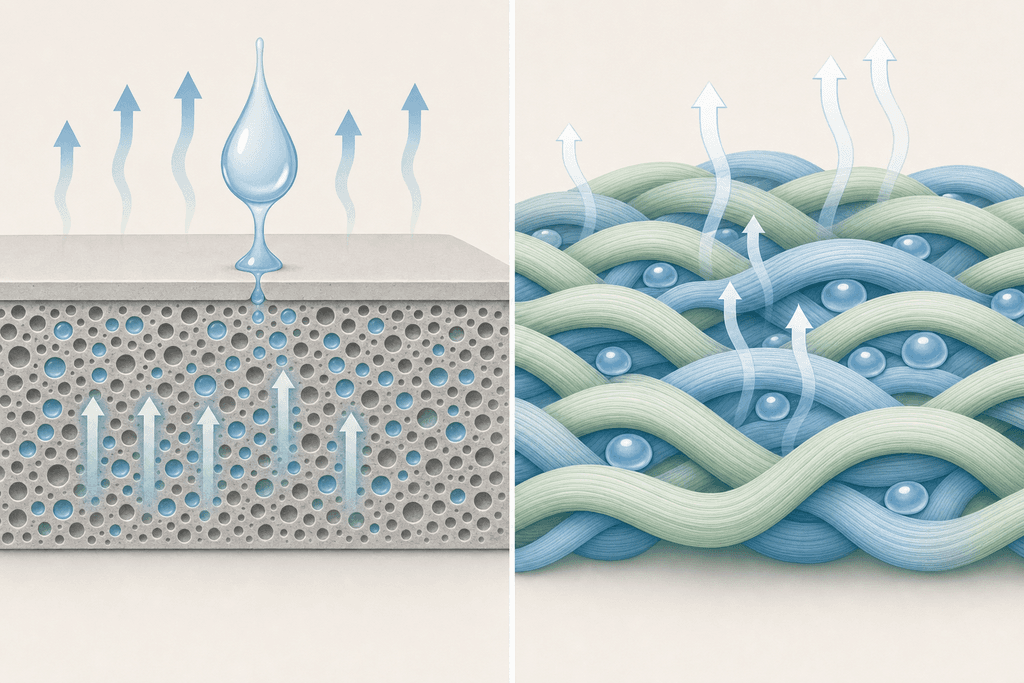
Most modern diatomite products, including Natureva's stone bath mats, aren't pure diatomaceous earth. They're actually a composite material that combines diatomaceous earth with recycled paper, then compresses everything into a dense, solid form. This composite construction makes the final product more durable than raw diatomite, but it also means you're dealing with two different materials bonded together when you try to cut it.
Why the Porous Structure Matters
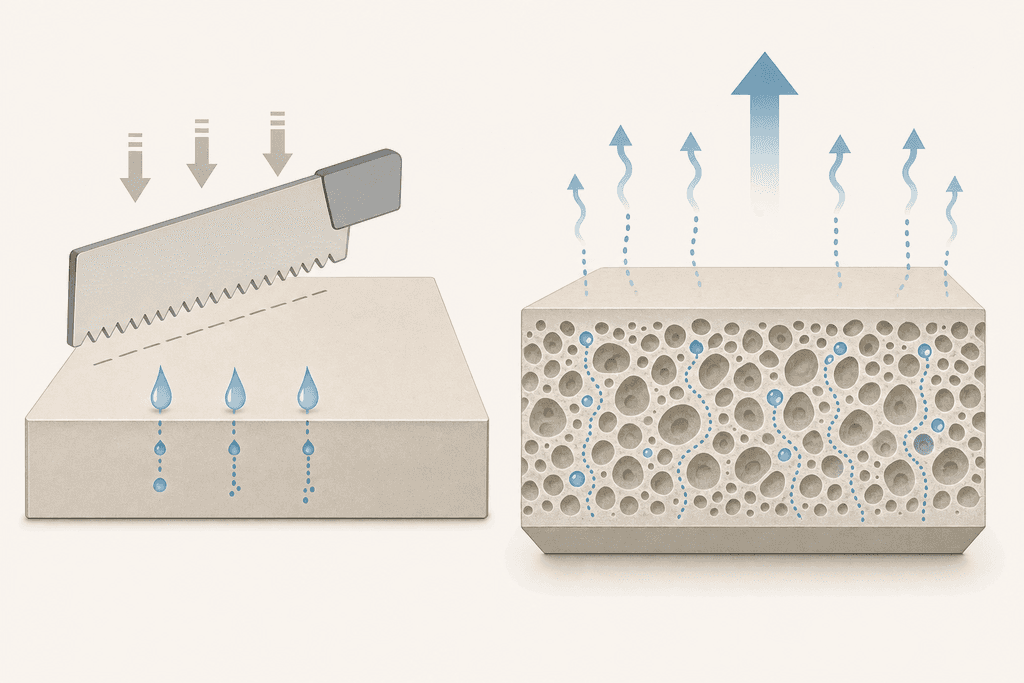
The same feature that makes diatomite amazing for drying your feet after a shower is what makes it fragile during cutting. Those microscopic air pockets create weak points throughout the material. When you apply pressure or vibration from cutting tools, the stress can travel through these pores and cause unexpected cracks far from where you're actually cutting.
Think of it like cutting a sponge versus cutting a piece of wood. The sponge has air gaps that make it compress and tear unpredictably, while solid wood cuts in a more controlled way. Diatomite falls somewhere in between, but leans more toward the sponge side of things.
How Thickness and Density Affect Cutting
Not all diatomite products are created equal when it comes to cutting difficulty. The thickness of the piece and how tightly the composite material is compressed both play major roles in whether your cut will be clean or turn into a cracked mess.
| Property | Effect on Cutting | Risk Level |
|---|---|---|
| High porosity | More air gaps, less structural support | High crack risk |
| Thin profile (under 1 cm) | Less material to absorb stress | Very high crack risk |
| Composite density | Tighter compression means stronger bonds | Medium crack risk |
| Moisture content | Wet material cuts differently than dry | Variable risk |
Standard bath mats like Natureva's are typically around 0.9 cm thick, which gives you just enough material to work with but not much room for error. Thicker pieces like dish mats at 2.5 cm total height are easier to cut because there's more material to distribute the cutting stress. The density of the composite also varies between manufacturers, with some using looser compression that makes cutting even more unpredictable.
Common Mistakes That Cause Cracking
Most people approach cutting diatomite the same way they'd cut ceramic tile or wood, and that's where things go wrong. The material behaves differently and needs special handling to avoid damage.
- Using too much pressure, which causes stress fractures to spread through the porous structure
- Cutting too fast, which creates vibration that travels through the air pockets
- Not supporting the material properly, letting unsupported sections snap under their own weight
- Choosing the wrong blade type, which can chip edges instead of making clean cuts
- Ignoring moisture levels, since wet diatomite cuts very differently than dry
Understanding these properties helps explain why how to cut diatomite stone requires different techniques than other home materials. The good news is that with the right approach and tools, you can make clean cuts without turning your bath mat into puzzle pieces. According to research on diatomaceous earth properties, the material's unique structure requires specialized handling for any modification work.
Essential Tools for Cutting Diatomite Stone
Diatomite stone is made from fossilised algae compressed with recycled paper, which gives it a unique structure that's both dense and surprisingly delicate. The microscopic pores that make it so good at absorbing water also make it prone to cracking if you cut it wrong. Before you even think about making that first cut, you need the right tools lined up because using the wrong equipment is the fastest way to turn your stone product into expensive rubble.
The good news is you don't need a full workshop to cut diatomite properly. Most cuts can be done with basic tools you might already have.
Basic Cutting Tools- Scoring knives and utility blades work perfectly for thin cuts and adjustments on pieces under 1 cm thick
- Fine-tooth hand saws give you the most control for straight cuts without power tools
- Wet tile saws are your best friend for larger projects or multiple cuts
- Diamond-coated blades create the cleanest edges and last longer than standard blades
- Safety equipment including dust masks and eye protection is non-negotiable since diatomite creates fine dust
The composite nature of diatomite means it behaves differently than ceramic tile or natural stone. It's softer than porcelain but harder than drywall, which puts it in an odd middle ground. Understanding how diatomite is manufactured helps explain why certain tools work better than others.
Tool Preparation Checklist- Check blade sharpness before starting any cut
- Set up proper ventilation or work outdoors
- Have water ready if using wet cutting methods
- Clear a stable work surface with proper support
- Put on dust mask and safety glasses
- Keep measuring tools and marking pencils within reach
Step by Step Cutting Methods That Prevent Cracks
The score and snap method is your safest bet for straight cuts on thinner diatomite pieces like coasters or small adjustments to bath mats. You're basically creating a controlled weak point that lets the stone break exactly where you want it to. Start by marking your cut line clearly with a pencil, then use a utility knife or scoring tool to make multiple passes along the same line, gradually deepening the groove.
Each pass should be firm but not aggressive. Think of it like cutting through cardboard, you're not trying to slice through in one motion.
Score and Snap ProcessMake at least five to seven passes with your scoring tool, applying consistent pressure each time. The groove should be about halfway through the stone's thickness before you attempt to snap it. Place the scored line directly over the edge of your work surface, then apply steady downward pressure on the overhanging section. The stone should break cleanly along your scored line without jagged edges or unexpected cracks.
For thicker pieces or when you need curved cuts, wet cutting is the way to go. Water serves two critical purposes during cutting: it keeps dust down and prevents heat buildup that causes stress fractures. Set your wet tile saw to a slow speed and let the blade do the work without forcing it.
Wet Cutting TechniqueThe next generation of home essentials: naturally made, cleaner by design, sustainable by nature.
SHOP ALL- Keep water flowing constantly over the blade and cutting area
- Move the stone slowly through the blade at about 1 cm per second
- Support both sides of the cut to prevent the stone from binding
- Never stop mid-cut, maintain steady forward motion
- Let the stone dry completely before handling the cut edges
The porous structure of diatomite means it absorbs water during wet cutting, which actually helps stabilize the material temporarily. Just remember that cutting a saturated stone with dry methods later can cause problems, so plan your approach carefully.
Proper support matters more than most people realize. Place scrap wood or foam underneath your stone on both sides of the cut line so neither piece can drop or twist as you're cutting through. This prevents the kind of sudden stress that creates those frustrating hairline cracks right at the end of an otherwise perfect cut.
Common Mistakes That Cause Cracking
The biggest mistake people make is treating diatomite like it's regular stone or tile and just going at it with whatever tool is handy. Applying too much pressure too quickly creates internal stress points that don't show up immediately but cause cracks hours or even days later. The composite structure of diatomaceous earth and recycled paper needs a gentler approach than solid materials, even though it feels solid in your hands.
Another common error is not supporting the stone properly during cuts. When one side drops even slightly as you're cutting, it creates a twisting force that the material can't handle.
What Not to Do- Rushing through cuts with excessive pressure causes immediate stress fractures
- Using dull blades tears the material instead of cutting cleanly
- Cutting saturated stone when it's absorbed moisture makes it more fragile
- Skipping the scoring step on pieces thicker than 0.9 cm leads to uneven breaks
- Ignoring the composite behavior and treating it like ceramic tile
Timing matters more than you'd think. Diatomite's moisture-managing properties mean it can hold water internally even when the surface feels dry. If you've just cleaned your bath mat or it's been in a humid bathroom, let it dry completely for at least 24 hours before attempting any cuts.
Correct vs Incorrect Approaches| Correct Method | Incorrect Method | Result |
|---|---|---|
| Multiple light scoring passes | Single heavy cut attempt | Clean break vs jagged crack |
| Wet cutting with water | Dry cutting at high speed | Smooth edge vs heat cracks |
| Full support under stone | Unsupported overhanging piece | Straight cut vs twisted break |
| Sharp diamond blade | Worn standard blade | Clean cut vs torn edges |
The reality is that most diatomite products are designed to be used as-is without modification. Our stone dish mats and bath mats come in sizes that work for most spaces right out of the box. But if you do need to trim a piece to fit a specific spot, taking your time and using the right technique makes all the difference between a custom fit and a cracked mess.
One final thing to remember: diatomite is meant to be porous and breathable, which is exactly what makes it tricky to cut. Those millions of microscopic holes that absorb water so well also create weak points if you stress the material incorrectly. Respect the material's nature and it'll give you clean cuts every time.
Keeping Your Diatomite Stone Intact
Cutting diatomite stone without cracking it comes down to patience and the right approach. The porous structure that makes this material so good at absorbing moisture also makes it more delicate than regular stone, so you need to treat it gently. Using a fine-toothed saw, keeping your blade wet, and taking your time with light pressure will get you clean cuts without damage. The key is remembering that those millions of microscopic pores are what give the stone its function, and rough handling can compromise that.
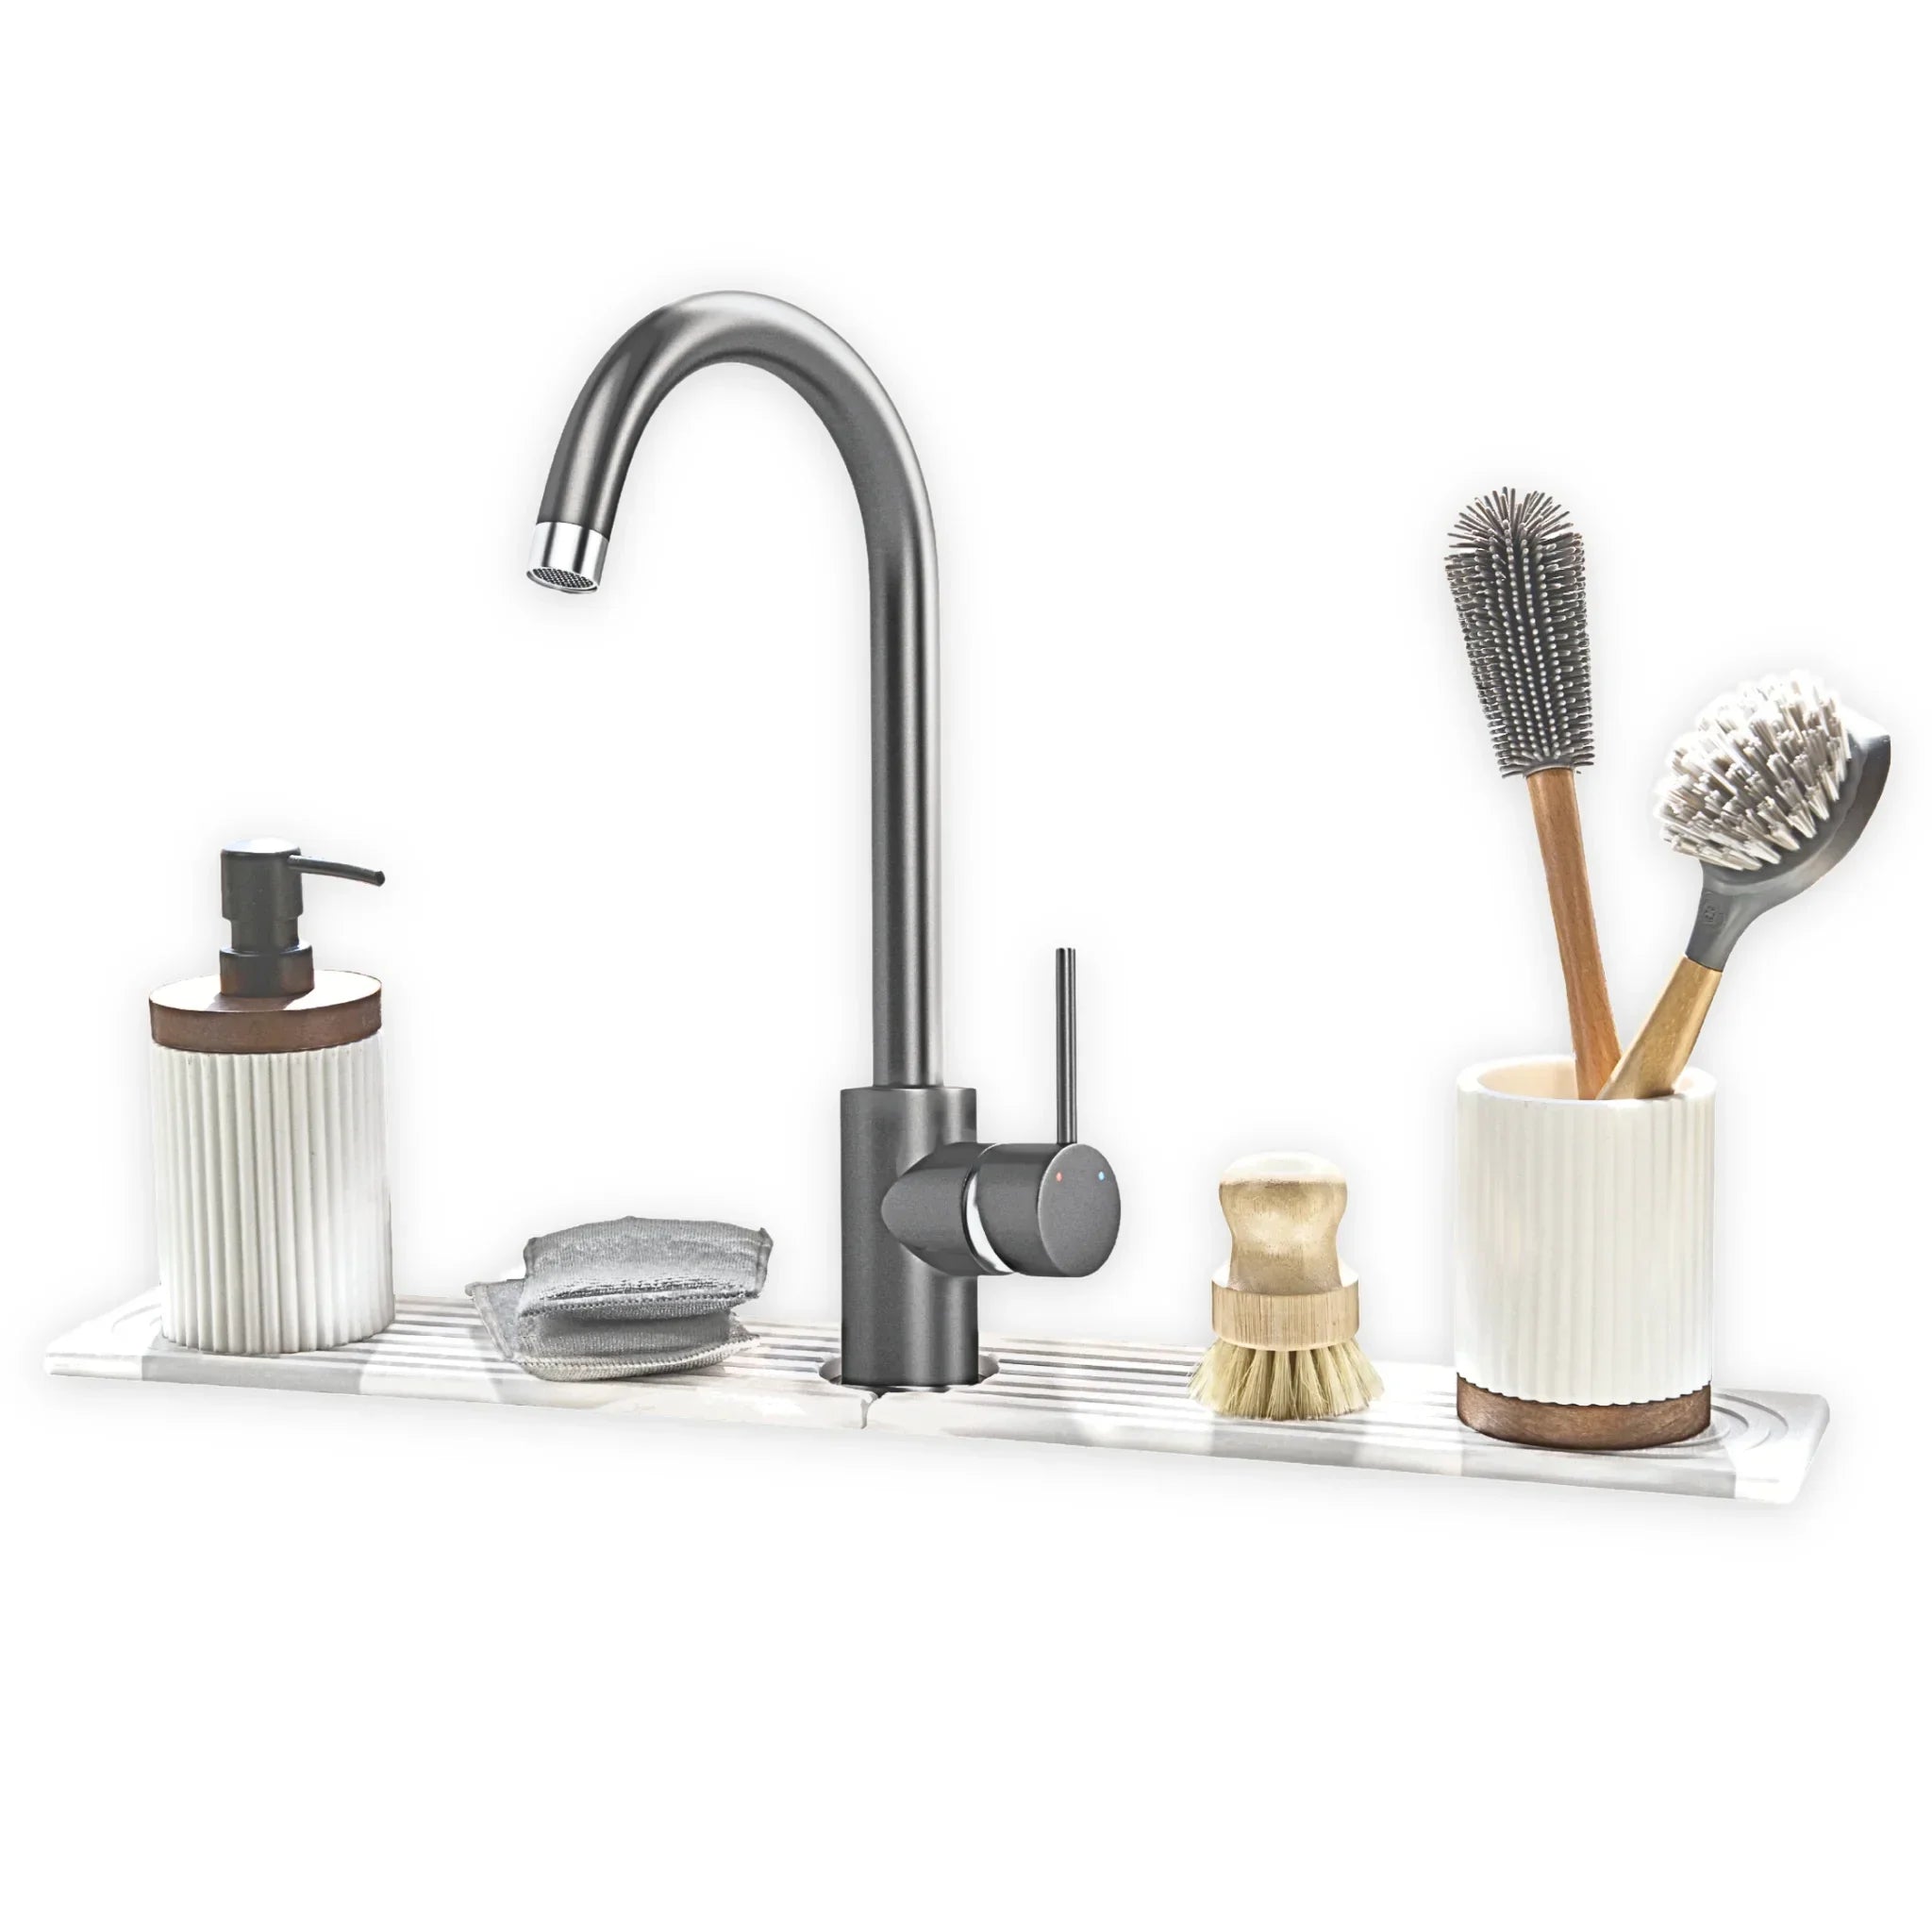
Most people won't need to cut their diatomite products at all. Items like our Tide bath mat or Flow sink caddy are already sized to fit standard spaces. But if you're working on a custom project or need to resize something, the techniques we covered will help you maintain the stone's absorbent properties.
The real benefit of getting your cuts right is preserving what makes diatomite special in the first place. A clean cut keeps the internal structure intact so water still gets absorbed instantly and evaporates quickly. Rough edges or cracks can reduce performance and create weak points that might break later.
Whether you're modifying a dish mat for your kitchen or trimming something for a tight bathroom space, the same rules apply. Slow cuts, constant moisture, proper support, and gentle handling will keep your diatomite stone working exactly as it should.
Common Questions About Cutting Diatomite Stone
Cutting diatomite stone raises a lot of practical questions, especially if you're trying to customize a bath mat or sink caddy to fit a specific space. Most people wonder if it's even possible without destroying the material, and what happens if something goes wrong. The good news is that while diatomite is delicate, it can be cut with the right approach, though it's rarely necessary since products like Natureva's stone bath mats and accessories are designed to fit standard spaces without modification.
Can you cut diatomite stone after purchase?
Yes, you can cut diatomite stone, but it requires patience and the right tools. A fine-toothed hand saw or rotary tool with a diamond blade works best for making clean cuts. The material is brittle, so rushing through the process or using aggressive power tools will likely cause cracking. Most manufacturers design their products to standard dimensions specifically to avoid the need for cutting.
What happens if the stone cracks during cutting?
If your diatomite stone cracks during cutting, the piece is usually not salvageable for its original purpose. Small surface cracks might not affect function, but deep splits compromise structural integrity and can worsen over time. This is why most people choose pre-sized products rather than attempting custom cuts. The risk of ruining an expensive bath mat or dish mat often outweighs the benefit of a perfect fit.
Do you need to seal edges after cutting?
No, you shouldn't seal cut edges on diatomite stone. The entire point of the material is its porous structure that allows rapid moisture absorption and evaporation. Sealing edges would trap moisture inside the stone and reduce its performance. Freshly cut edges will be rough, but they'll function the same as the original edges once you sand them smooth.
Can you sand rough edges smooth?
Yes, sanding rough edges is actually recommended after cutting diatomite stone. Use fine-grit sandpaper around P320 to gently smooth any jagged areas without removing too much material. Natureva products include a P320 grit sanding tool designed for surface restoration, and this same tool works perfectly for edge finishing. Just work slowly and avoid applying too much pressure in one spot.
Will cutting affect the stone's absorbency?
Cutting itself won't reduce absorbency, but the process can clog surface pores with dust and debris. After cutting, rinse the stone thoroughly under water and let it air dry completely before use. You might also want to sand the surface lightly to reopen any pores that got compressed during cutting. The internal structure remains intact, so performance should stay consistent.
Should you cut diatomite wet or dry?
Always cut diatomite stone dry. Wet cutting might seem like it would reduce dust, but it actually makes the material more prone to crumbling and creates a muddy mess that clogs your tools. Work in a well-ventilated area or outdoors, and wear a dust mask since diatomite particles can irritate your lungs. Clean up is easier when the dust stays dry and can be swept or vacuumed.
The next generation of home essentials: naturally made, cleaner by design, sustainable by nature.
SHOP ALL